Clotted cream may sound unappetizing but it is truly a heavenly, delicious treat. Kind of like whipped cream, kind of like butter, it’s perfect for THM S friendly scones, muffins, and more. Thankfully, it’s easy to make (and cheaper than flying to England) — you just need to know a few things. Let me show you how to make clotted cream…
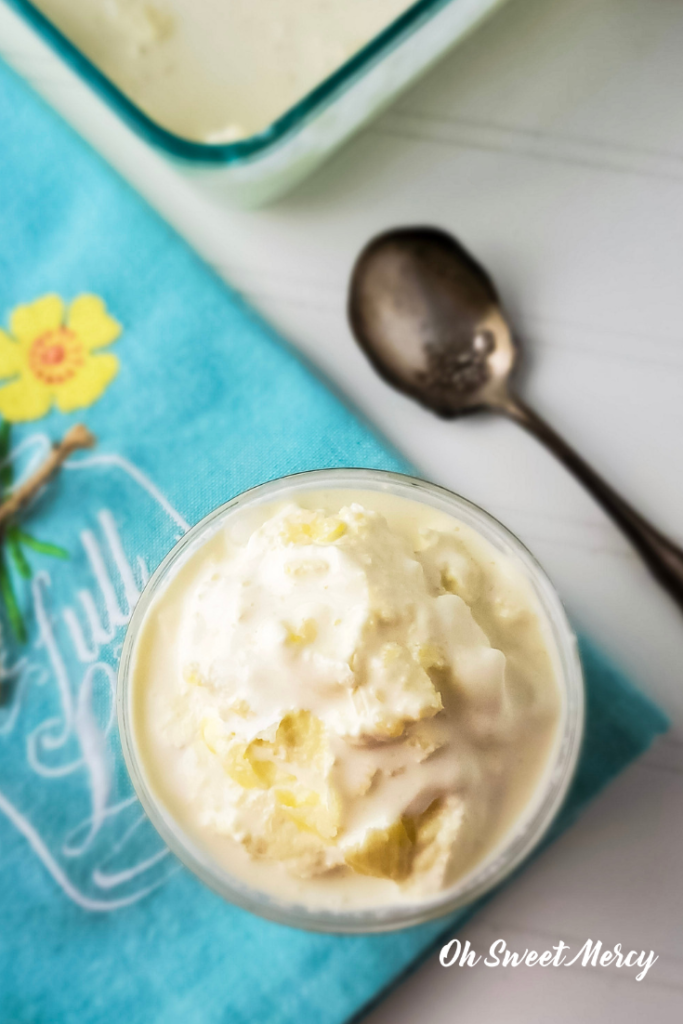
Until I went to England, I’d only ever heard of clotted cream. And yes, my reaction to first hearing that term…clotted cream…was probably a lot like yours.
Clotted? Ew.
However, I’ve since learned how truly very wrong is that reaction.
Because eating clotted cream is practically a religious experience. It’s hard to explain unless you’ve actually eaten it, but trust me — it’s amazing!
It’s almost whipped cream, almost butter. Thick, rich, creamy, deliciousness hugging your favorite low-carb scone or muffin.
If you ever get to England be sure to try some real, British clotted cream. Since that’s an expensive trip, let me save you a few bucks and show you how to make it yourself.
It’s hard to believe something so divinely delicious could be simple to make. It is — it just takes some knowledge and forethought.
How To Make Clotted Cream: The Knowledge.
The most important thing to know about making clotted cream at home is that you absolutely can not use ultra-pasteurized heavy cream. It won’t work.
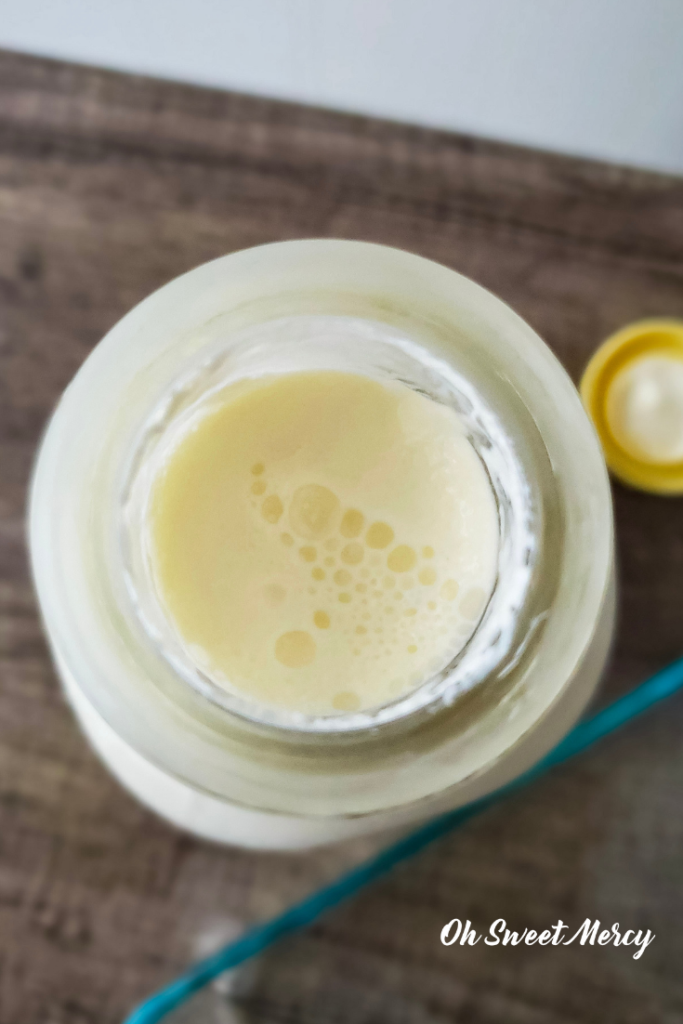
I’ve tried this with heavy cream marked just “pasteurized” and it worked somewhat. Just not what I remembered, really.
However, to make this divinely decadent treat so it’s close to what you find in England you need cream that is either raw or low-temp pasteurized.
As raw milk is illegal in many areas across the US that may not be an option for you. Finding low-temp pasteurized cream may take a bit of searching but it’s so worth it. Look for local dairy farms, at farmer’s markets, and health food stores.
In addition, the best creams for making clotted cream are those with a very high butterfat content. I noticed a HUGE difference between the local, low-temp pasteurized cream and the “heavy” whipping cream from a local grocery store.
The “heavy” cream was more like half and half! The local cream was much thicker.
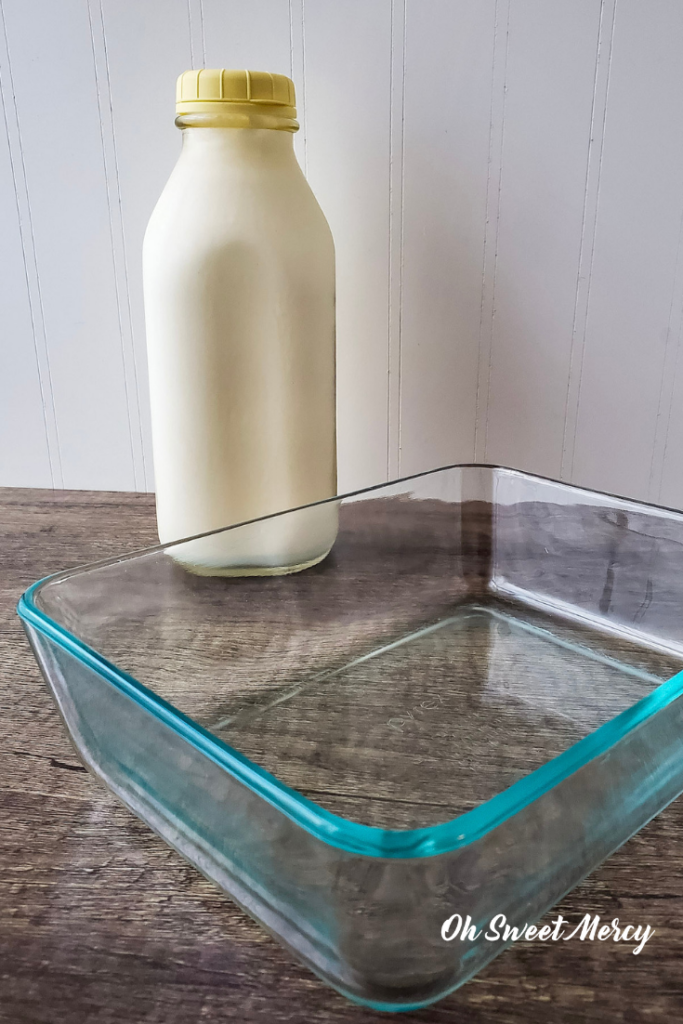
You’ll also need a shallow baking dish (I use one like this). In addition, if you have a convection oven you’ll want to use it. The fan helps speed the process along, a bit.
Which brings me to the forethought portion of this tutorial:
How To Make Clotted Cream: The Forethought.
This recipe takes time. You’ll need to plan on 24 to 36 hours or so.
But, it’s so. worth. the. wait. Seriously! All good things are, right?
Phase 1 – Bake It.
Surprisingly, clotted cream is baked in an oven. So, start by preheating your oven to 175 to 180 degrees.
Pour the heavy cream into your baking dish until it’s about 1 to 1.5 inches deep. You want it shallow with large surface area.
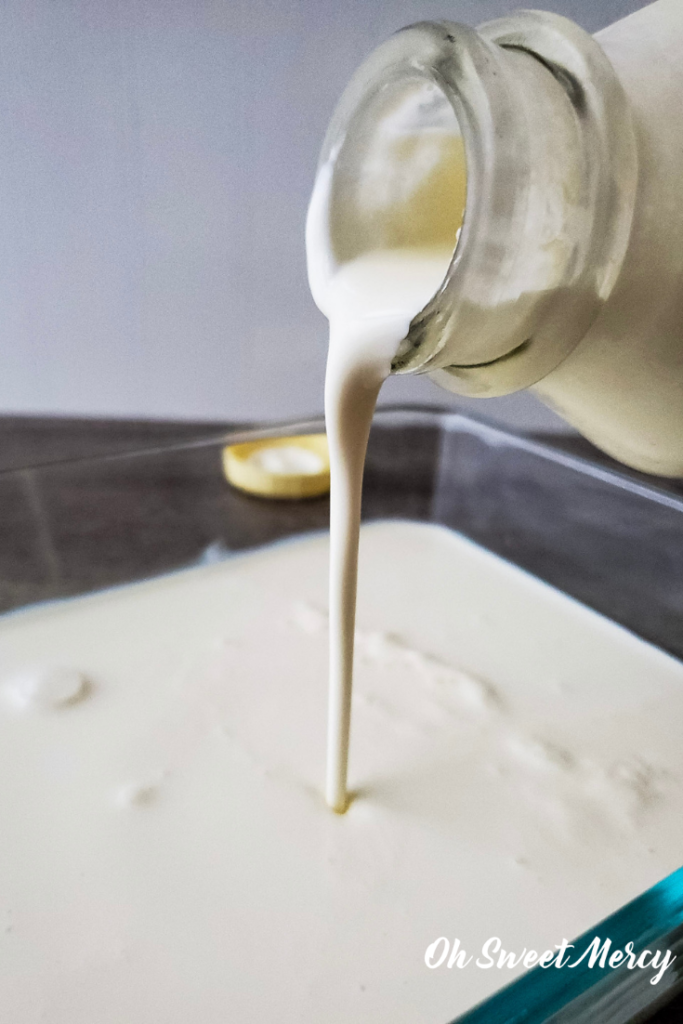
Place it in your preheated oven and leave it alone for 12 hours. It should reduce by almost 40%. If necessary, let it go a little longer.
Start it before bed the night before. Or first thing in the morning if you’re nervous about your oven running while you’re asleep.
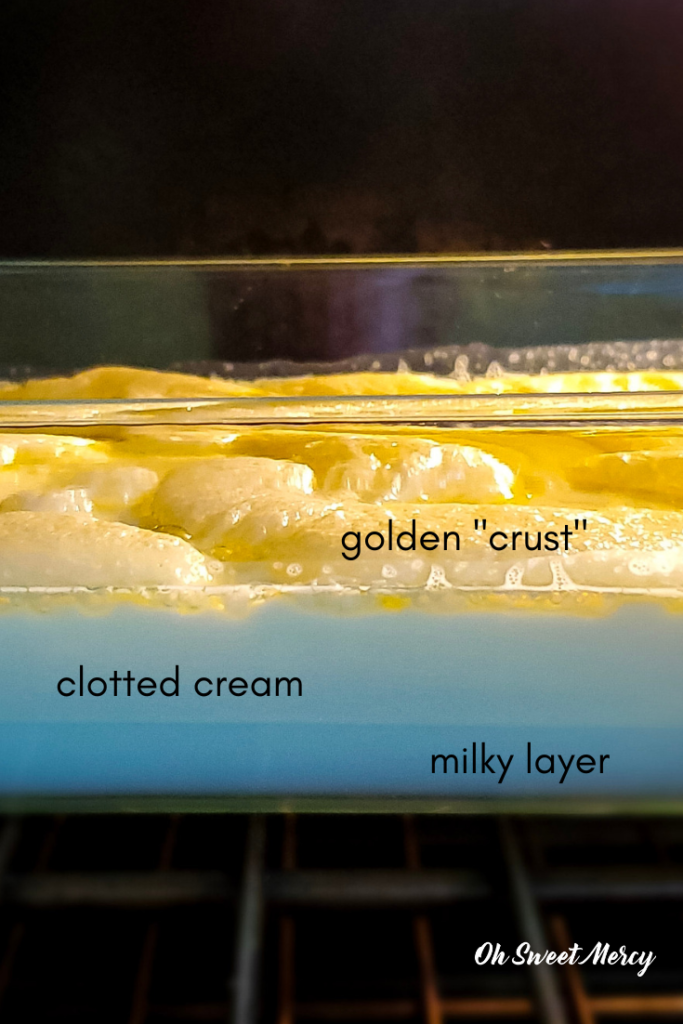
After a while the top develops this lovely, golden, “crust”.
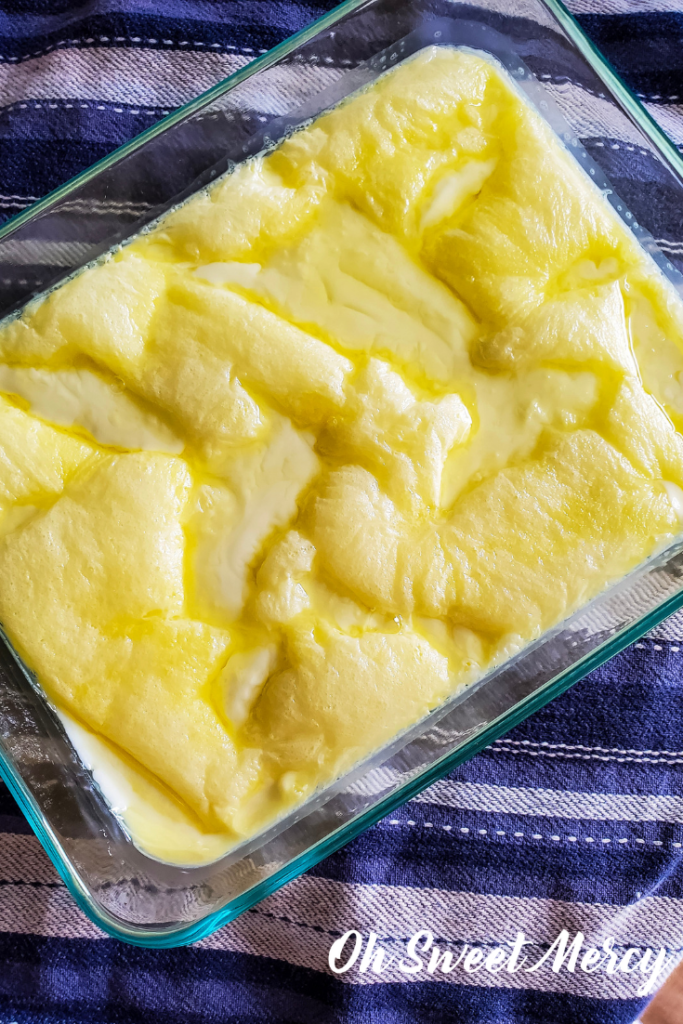
Carefully remove from the oven. It will be runny (because fats get like that when they’re hot, of course) but you should see a distinct layer.
Don’t let it slosh around a lot while moving, you want to keep those 2 layers separate.
The next phase is where the rest of the magic happens.
Phase 2 – Cool It.
This is the hardest part of the whole process. Because you have to wait.
Let the dish of magical clotted cream sit on the counter until it reaches room temperature. Then cover and put in the fridge for 8 hours, or overnight.
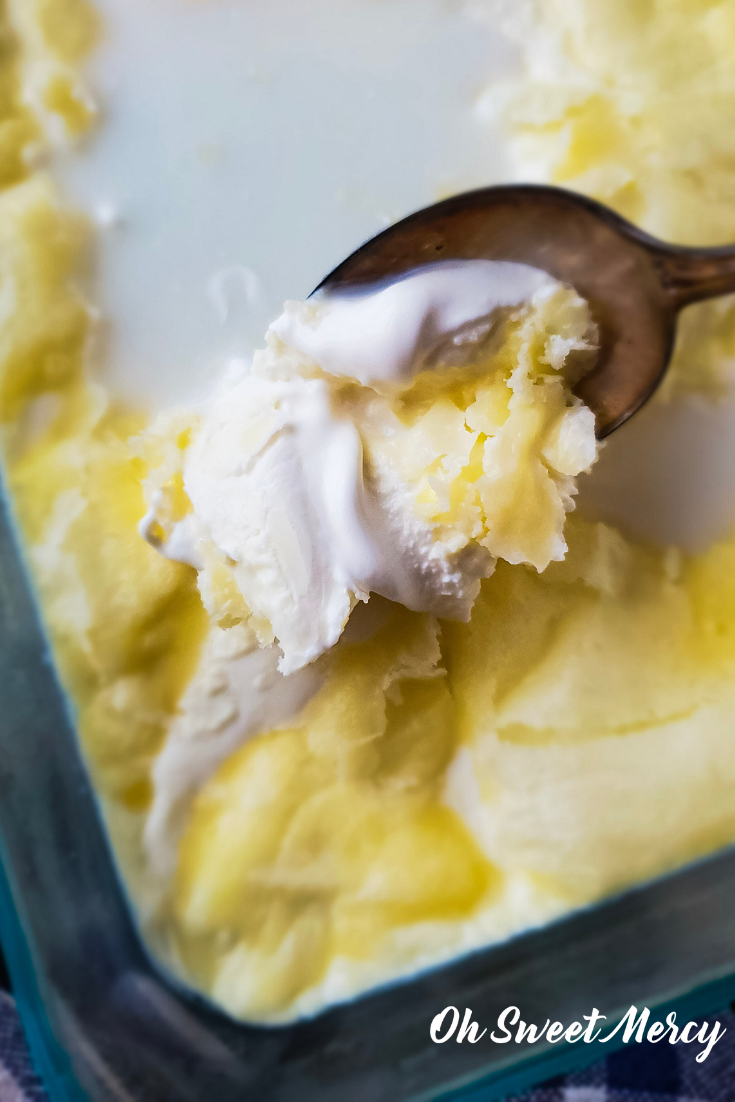
What happens next is the creamy layer you see gets firmer. The golden “crust” gets hard like butter. This is your clotted cream! Carefully scrape that amazing, magical, deliciousness out and put into a jar or bowl for storage.
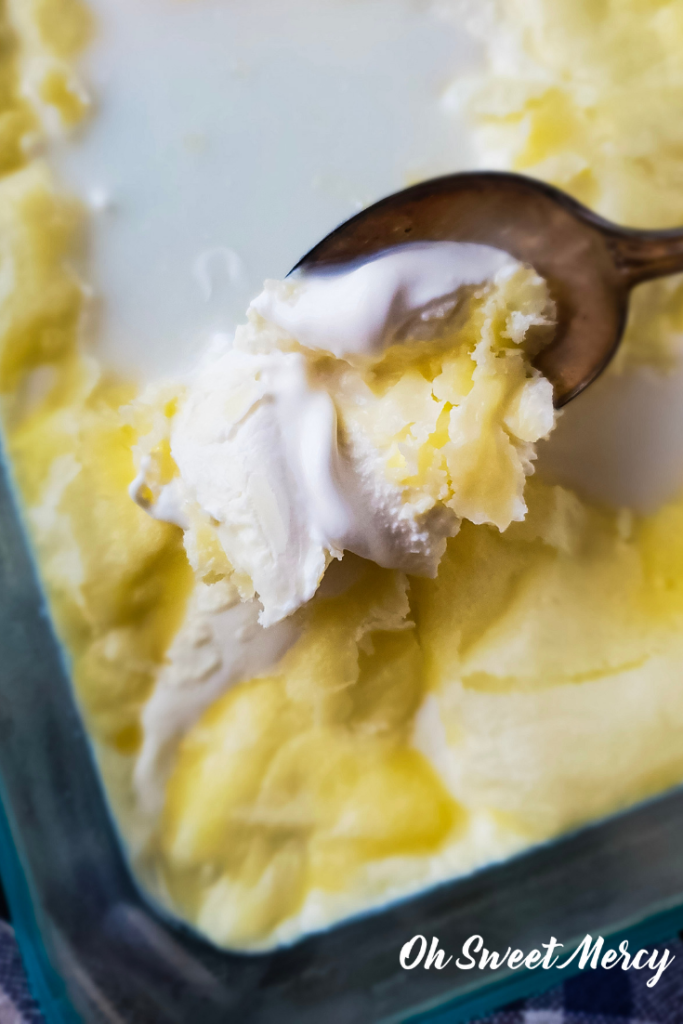
If you’re a visual person like me, this video shows several scenes of clotted cream being spooned onto scones and such. You can see the consistency, and mine turned out just like it!
The milky layer beneath is perfectly fine to use in other recipes. Even use it as a creamer for your coffee, tea, or Dandy Blend.
How To Enjoy This Rich, Heavenly Treat In Your THM Lifestyle.
The best no-carb way to enjoy this dairylicious manna from heaven is simply with a spoon.
I caution you, however, to not eat the entire thing. You will want to, this much I know. But while we embrace healthy fats on THM we also embrace sensibility.
And pigging out on clotted cream is not sensible. At least not all the time. Maybe one time, the first time you make it. But I can not endorse it beyond that first magical tasting.
Next to a spoon, you’ll want to try it on all the things. Like…
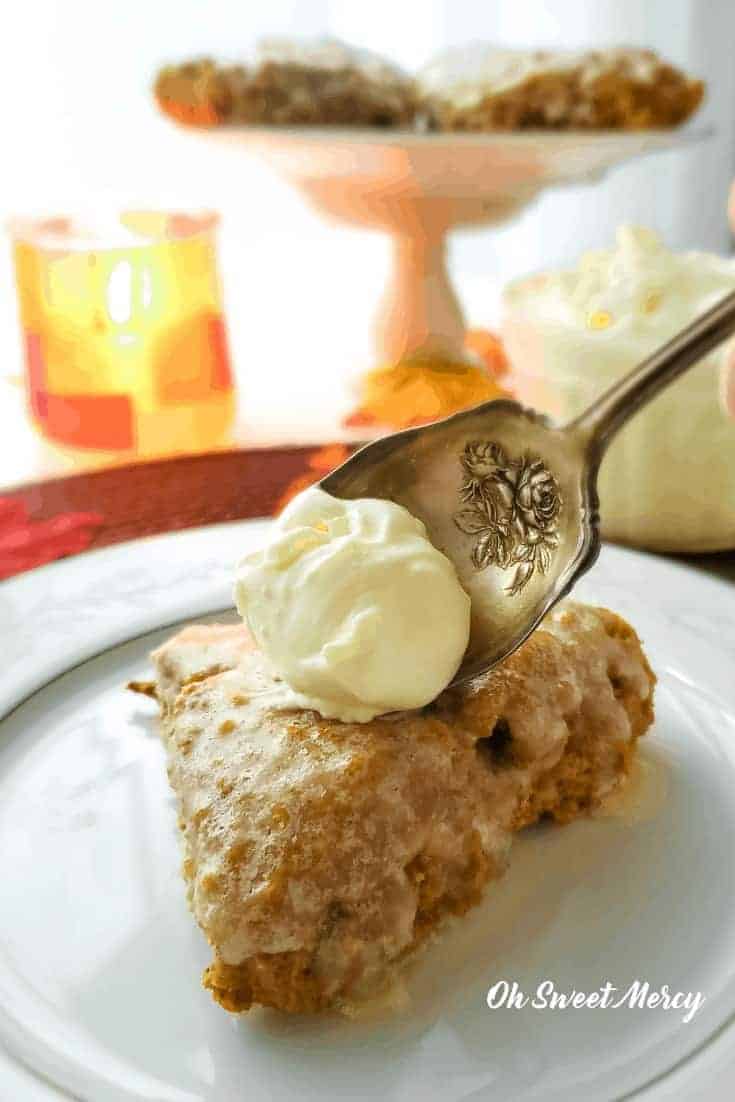
Pumpkin Scones with Pecan Brown Butter Glaze
Fresh berries
In the name of sensibility, however, keep in mind that this is a very rich treat high in fat. The Heavy S type. Too much indulgence in Heavy S foods can result in a stall in your weight loss.
Your best plan for on-plan enjoying of the heavenly clotted cream is to have a FP meal and something with clotted cream for dessert.
Or, enjoy as a snack with berries or a low-carb scone.
This would not be ideal to have after an S meal, particularly a Heavy S. At least not all the time! We have food freedom but let’s not abuse it 😉
Have You Ever Had Clotted Cream? Will You Try Making It?
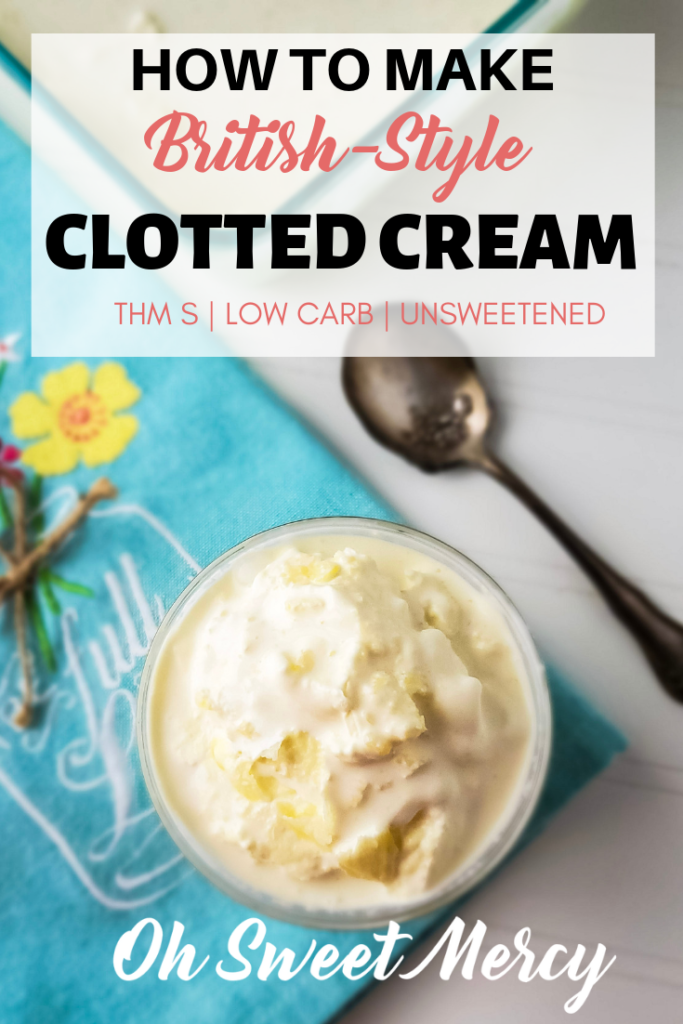
Homemade British Style Clotted Cream | THM S, Low Carb
Thick, rich, creamy, and decadent this easy homemade British style clotted cream is absolutely divine! It does take some time to make so be sure to plan ahead accordingly. Don't let the long cooking and cooling times scare you, this recipe is mostly hands-off and could be the most delightful thing you ever eat!
Ingredients
- 1 pint thick, heavy cream - raw or low-temp pasteurized for best results NOT ultra-pasteurized
- Shallow baking dish
Instructions
- Preheat your oven to 175 (convection - see notes) to 180 degrees.
- Pour the thick, heavy cream into the shallow baking dish until it reaches a depth of 1 to 1.5 inches.
- Bake in preheated oven for 12 hours, or longer if needed (see notes).
- When cream is reduced by about 40% and has a golden "crust" on top, carefully remove from the oven and set on the counter to cool. Be sure to not slosh it around while moving.
- Allow to cool to room temperature then cover and refrigerate 8 hours to overnight.
- When chilled, the clotted cream should be firm. Gently scrape it off the top of the milky layer and put into a jar or bowl for storage.
- Cover and store in the fridge. Use within 5 days.
Notes
Using a convection oven will help speed up the process a bit. Try to keep the oven door closed and use the light to check on it if possible.
If you get your cream too deep in the baking dish it will take longer to reduce, keep baking until it's reduced down by about 40%.
Use the milky layer that remains in other recipes or in your coffee or tea as a creamer.

Sharon says
Love the idea of this; I saw in a post (on Amazon from comments about a bought clotted cream) that you can do this in a crockpot rather than the oven–what do you think? Otherwise everything was the same as you say.
Dawn Yoder says
I haven’t tried it so I can’t say how it might turn out. I have seen some Instant Pot recipes out there too. The biggest factor, I think, is making sure you have the right cream. It absolutely can not be ultra-pasteurized. I’ve tried cream marked “pasteurized” and while it was good, it wasn’t quite what I remembered. So if you can get raw or low-temp pasteurized cream that will give you the best results. I imagine the method of cooking might not matter as much as that.
Gabrielle says
I’ve just done it in the instant pot and it turned out splendidly! It, however, doesn’t take any less time, so I think you can do whatever suits you.
Dawn Yoder says
Thanks so much for letting us know about using the Instant Pot, Gabrielle! Good to know.
Lyne says
What setting did you use on the IP and for how long did you program it for?
Dawn Yoder says
I did not use my IP for this, it was baked in the oven.
Suzanne says
Cool weather is sure to come and clotted cream is certainly a decadent treat to go along with fall treats – like scones! I made both the clotted cream (using raw cream from a Holstein cow) and your Pumpkin Scone recipe – a match made in heaven! Just like Dawn said, this Clotted cream recipe is very easy to do! Simply pour cream in dish and bake, let cool, refrigerate. When it’s cool carefully skim off the yummy goodness! How hard is that? Yes, it takes TIME but you can do other things…or better yet…bake it over night! GOOD things come to those that wait! Easier then home made yogurt!
Dawn Yoder says
Hi Suzanne,
Thanks for stopping by and sharing! So wonderful to hear your success with lovely raw cream! And yes, you are so right. All good things are worth the wait 😉
Becky says
Hi, Dawn – this looks SO yummy and I’ve always been intrigued by and wanted to try clotted cream! I have a question… is the crusty top a part of the clotted cream? It looks in your pic like it is, and I just wanted to make sure. I look forward to trying this if I can find some low pasteurized cream in my area. Thanks for sharing your recipe!
Dawn Yoder says
Hi Becky! Yes it is part of the clotted cream. Some people like to stir it in very well others don’t. I don’t stir it in myself, I like the texture. Hope you can try it soon and enjoy it. It’s just pure heaven!