
Last Monday, I shared my easy recipe for Kale Ranch Dip, which included a recipe for Ranch Dressing Mix…an easy way to eliminate MSG from your diet and help you keep your grocery budget in check. This Monday, I’m going to step it up a notch and show you how to make homemade raw milk yogurt. It’s not as difficult as it may sound, and if you live in a state where the possession and intent to consume raw dairy is not a federal offense, and you can obtain raw milk from a source that practices common sense when it comes to the health of their herd and the safety of their milk, then you’ve got to try making your own raw milk yogurt…especially if you’re looking for a healthy source of beneficial bacteria and enzymes without commercial additives.
If you believe what the industrial dairy industry says about raw milk, that it is essentially poison and will kill you and your entire family, and are afraid to try it, you can still make this yogurt with pasteurized, homogonized milk. I would like to encourage you, however, to read about the benefits of raw milk sourced from responsible local farms with grass fed cows. The Weston A. Price foundation is a great source of information on the benefits of raw milk. Read this rebuttal to the FDA’s article about the “dangers” of consuming raw milk, as well as this 2011 report showing that the risk of the risk of contracting foodborne illness by consuming raw milk is much smaller than the risk of becoming ill from other foods. RealMilk.com also has a wealth of information on the benefits of raw milk.
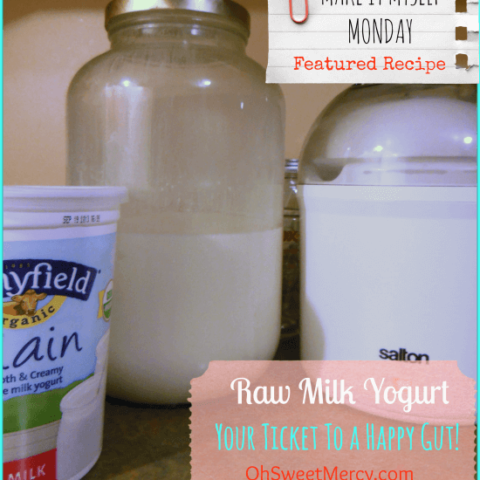
I used a Salton yogurt maker. While I do not like using plastic any more than necessary, right now the convenience factor wins out! It’s also possible to make yogurt in mason jars in an insulated cooler, but I have not tried that yet.
Only a few ingredients are necessary:
- One quart of fresh, pastured raw milk from healthy cows and responsible farms
- Yogurt starter (or 2 Tbs plain yogurt from a previous batch)


You will also need a pan and a thermometer, plus your yogurt maker. Always be sure to work on a clean work surface with clean utensils and hands. Follow the instructions for your yogurt maker (although mine says to add powdered milk, which I do not use). It also says to prewarm the unit, and I add warm water to the culturing container to help warm it while preparing the raw milk yogurt mixture.
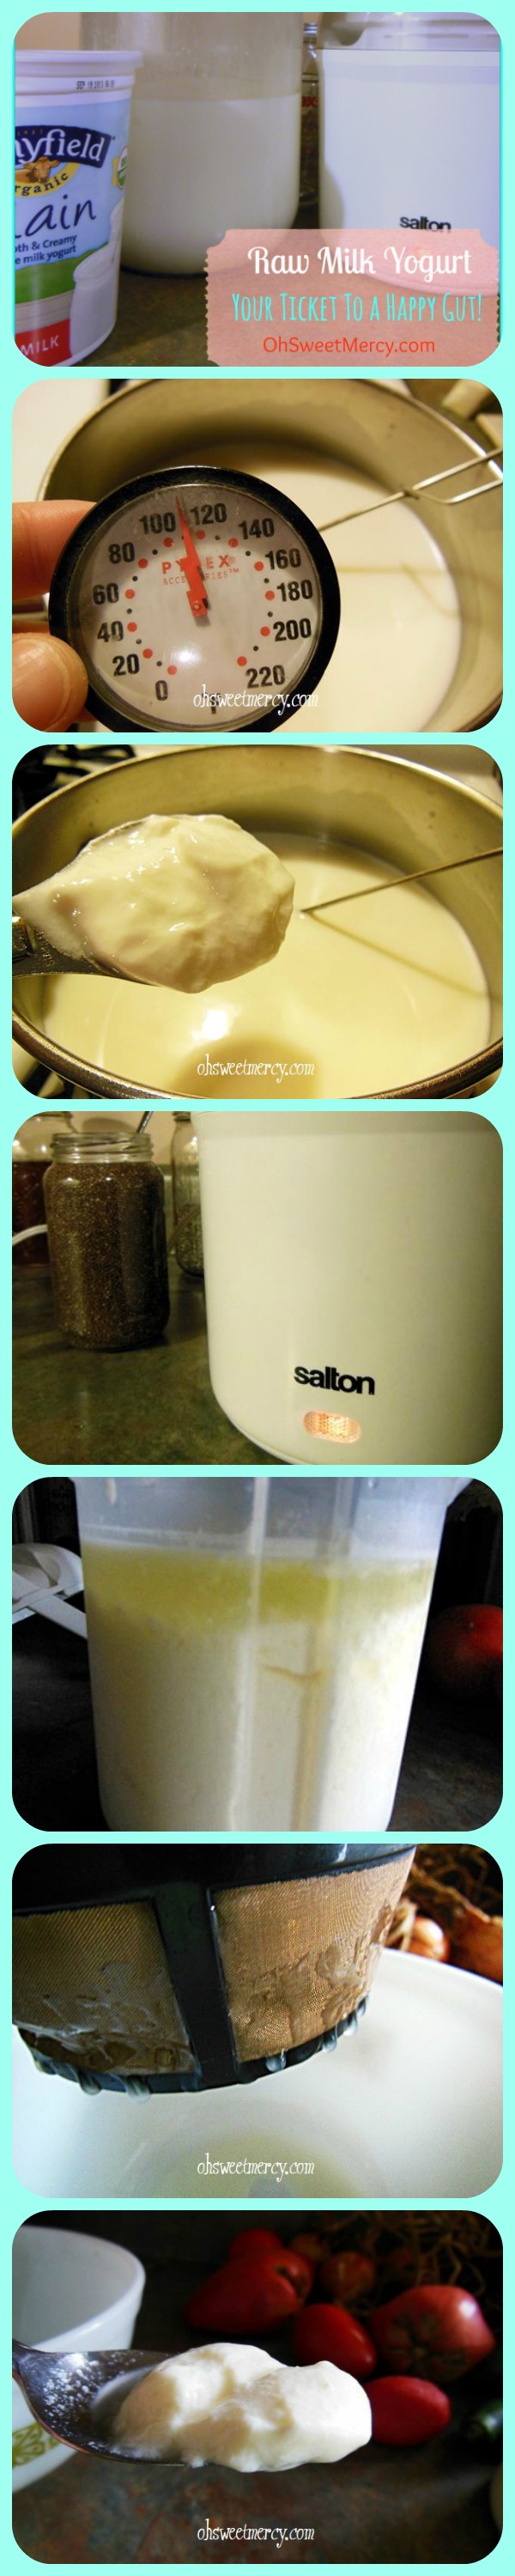
1. Begin by making sure the cream is mixed into the milk, then gently heat the raw milk in a pan on the stove to 110 degrees. This keeps the healthy and beneficial enzymes and bacteria intact.
2. Add your starter culture, which can be:
- Dried starters from a source such as Cultures for Health
- 2 Tbs of plain yogurt from a previous batch. Since this was the first time I’ve made raw milk yogurt, and I did not have any starter cultures on hand, I used a plain, whole-milk organic yogurt. I strongly recommend using whole milk for the best results. I have hidden the last of this yummy raw milk yogurt to save it for a new batch!
3. Whisk it gently until it is fully incorporated. Then add the mixture to your yogurt maker.
4. Make a note of the time so you can check your raw milk yogurt in 8-12 hours
5. Check your yogurt after 8 hours, if it seems very thin, let it go another 2-4 hours.
6. Transfer container to your refrigerator. It will thicken a bit more as it cools, however do not expect it to be exactly like commercially prepared yogurts. It will also have a lovely, golden layer of whey on top. DO NOT THROW THIS OUT!
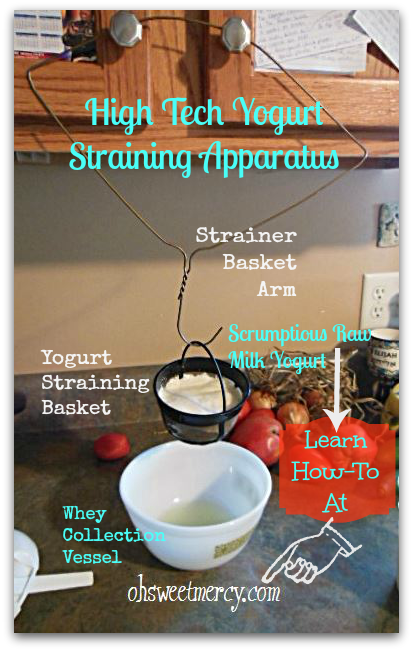
If you like your yogurt thicker, simply strain out the whey. I used this ultra high-tech apparatus to get my raw milk yogurt nice and thick:
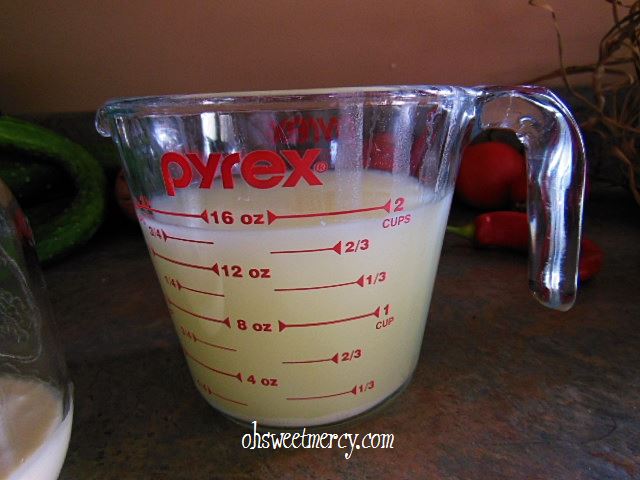
One quart of finished raw milk yogurt yielded two cups of liquid gold, also known as whey. This whey can be used to soak your grains or legumes, as well as impart protein, vitamins and minerals to smoothies, baked goods and even your pet’s food.
Normally, whey is more clear than this. One drawback to my high-tech yogurt straining apparatus is that I dribbled some yogurt into the whey while refilling the basket.
Dress up your delicious, raw milk yogurt with fruits, sweeteners such as local, raw honey or sucanat, fruits or homemade granola. I often add a splash of homemade vanilla extract and cinnamon. You can also use it plain like you would any other plain yogurt.

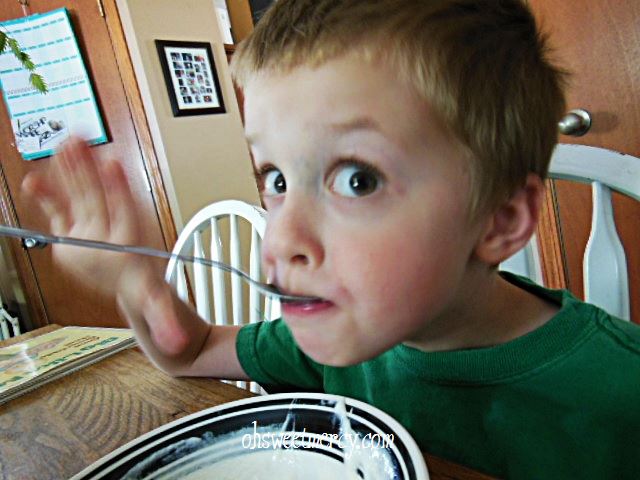
Finally, be sure to have a Certified Taste Tester on hand to be sure your finished product passes the taste test. Mister is one of the two CTT’s in my real-food kitchen. He is not nearly as difficult to please as Sister, but he tells me all the time I’m the Best Cooker in the World. How can I argue with that? He’s in no danger of losing his position!
 How do you like your yogurt?
{Make it Myself Monday} Raw Milk Yogurt
Ingredients
- One quart of fresh, pastured raw milk from healthy cows and responsible farms
- Yogurt starter (or 2 Tbs plain yogurt from a previous batch)
Instructions
- Begin by making sure the cream is mixed into the milk, then gently heat the raw milk in a pan on the stove to 110 degrees. This keeps the healthy and beneficial enzymes and bacteria intact.
- Add your starter culture.
- Whisk it gently until it is fully incorporated. Then add the mixture to your yogurt maker.
- Make a note of the time so you can check your raw milk yogurt in 8-12 hours.
- Check your yogurt after 8 hours, if it seems very thin, let it go another 2-4 hours.
- . Transfer container to your refrigerator. It will thicken a bit more as it cools, however do not expect it to be exactly like commercially prepared yogurts. It will also have a lovely, golden layer of whey on top. DO NOT THROW THIS OUT!
- If you like your yogurt thicker, simply strain out the whey. I used this ultra high-tech apparatus to get my raw milk yogurt nice and thick:
Join the Conversation