So, you printed an ebook…what are your choices for keeping it all together?
I’m going to share with you the simple, cheap, and easy method I devised the other day to bind eBooks using something you probably have in your desk drawer right now (and how I’ve made printing less aggravating, too).
But first, let’s compare the pros and cons of some typical binding methods you’ve probably already used.
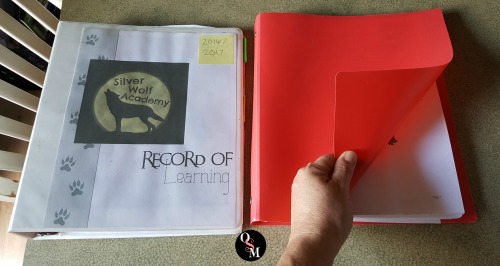
The Plastic Binder
This is often our go-to way to bind eBooks. Back to school sales and thrift stores are great places to find them cheaply. Every homeschooling family has tons of them. You’ve got your hard-sided and “floppy” types.
PROS:
- Simply three-hole punch your papers and put them in the binder
- You can easily add or remove pages, divider tabs and pocket folders.
- Durable cover
- Lays open flat
CONS:
- Bulky – ranging from slightly to obnoxiously large
- The larger, angled binders are hard to stack or arrange on a shelf
- Hard to fit in a bag
- Pages tear out easily
- The Jaws of Death in the center can pinch that soft, sensitive skin between your thumb and finger…
Coil or Comb Binding
Bind eBooks this way at either an office supply store, or at home if you have your own coil or comb binding system.
PROS:
- Looks professional
- Lays open flat
- Less bulky
CONS:
- Can’t remove or add pages
- Coil binding often unwinds
- Comb binding eventually loses “teeth”…it’s like a law of physics
- Things often snag on coil binding
- Inconvenient if you have to take it to a store to have it done
- Expensive, if doing many
- Expensive to buy the system to do it at home
Staples
Yes, you can use a simple stapler to bind eBooks. If durability is what you’re looking for this isn’t the option for you. But, for thinner workbooks and other documents where durability isn’t an issue this is a super thrifty and easy way to bind ebooks.
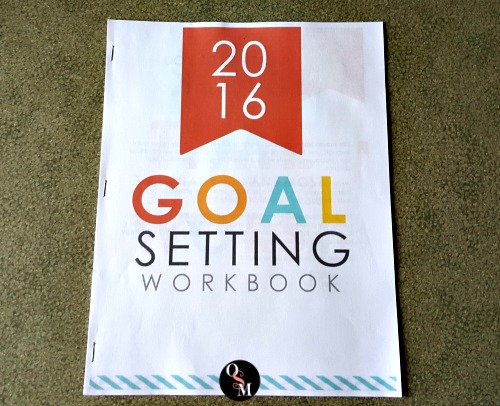
This is the free goal setting workbook you can get from Living Well Spending Less to help you set and reach your goals.
PROS:
- Fast
- Easy
- Cheap
- Pages can typically lay open flat
CONS:
- Page capacity limited to size of stapler
- Sometimes looks like an elementary school project
- Can’t add or remove pages easily
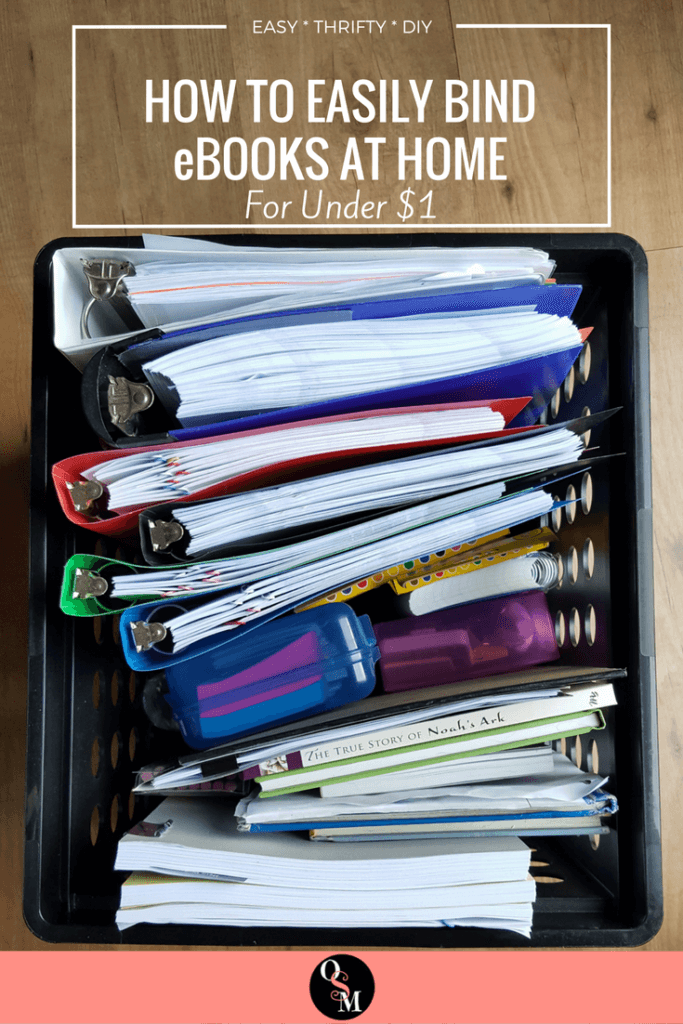
So what is this amazing, cheap, miracle solution to bind eBooks at home?
After printing out some eBooks, I planned to take them to an office supply store to get them coil-bound. It was going to be a few days before I could do that, and I needed to use the books right away. Since I didn’t want to three-hole punch them, I clipped them with a binder clip.
Then, inspiration struck…
What if I used three binder clips along the edge of the printed book, then removed the silver levers?
Voila!
The pages are together. The book lays open flat. You can easily add or remove pages (as long as you don’t lose the levers!).
And best of all?
It only cost about ninety cents.
Two tips…print the front and back pages on cardstock or laminate for durability. I’m thinking about trying sheet protectors. Maybe. And, be sure your margins are not printed too close to the right and left edges (or left, if you just have single-sided pages).
So many choices for pretty binder clips, too!
There are many, many pretty, printed binder clips on the market. You can…
- coordinate colors/patterns with the cover of your book
- use a different color/pattern for each subject
- use a different color/pattern for each child
- check out this collection of Printed Binder Clips
from my affiliate partner
Cheap and easy binding is the dream of every homeschooling mom!
We also homeschool and that usually means printing a lot of documents. It doesn’t HAVE to mean that, but since I prefer having a paper to hold over something electronic most of the time, I print a lot.
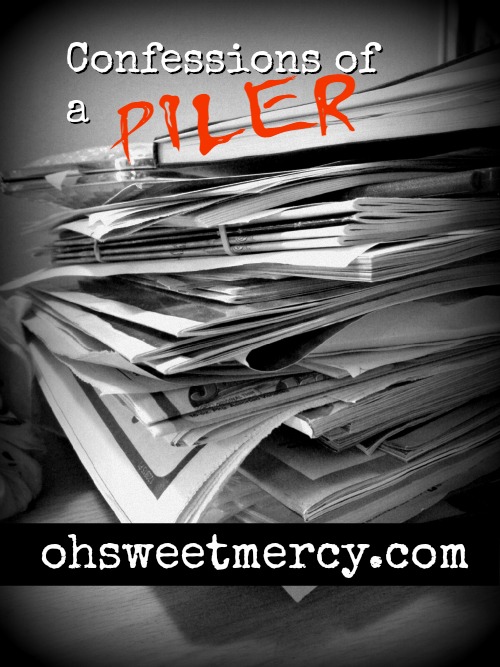
Interestingly, I hate dealing with paper after the fact. It’s hard to organize, especially if you’re a piler. Click the image below to read my confessions…
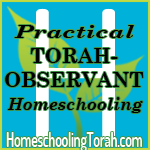
Our homeschooling curriculum, Homeschooling Torah, is entirely online and you don’t have to print much – teacher manuals, student worksheets, and more can be used on a Kindle, tablet or PC. I use a combination of paper and electronic, depending on what it is or what I feel like doing at the moment. You can learn more about Homeschooling Torah by clicking the image below.
This is an affiliate link, which means if you purchase using this link I’ll receive a percentage of the sale. There’s no extra cost to you, but helps keep this site running and is much appreciated!
Taking the Aggravating Out of Printing…
One more helpful hint I’d like to share…I recently had to purchase a new printer. I decided on the HP Envy 7640 because it is compatible with the HP Instant Ink program. The printer orders ink when you need it and it is shipped to your door.
Since I live in the sticks, that is super nice.
You sign up for a monthly plan, starting from $2.99 for 50 pages a month. If you go over the number of plan pages, it’s $1.00 for each set of 25 pages over. You can change your plan anytime, too, AND unused pages rollover to the next month!
I’ve just started using it (and printing ALL the things…because I CAN!) and so far have not run out of ink, or had any delivered. The cartridges seem to have quite a bit more ink in them. And I’m loving that I don’t have to flip the pages around and reinsert them to print double-sided. It just does it magically somehow.
One possible drawback…I’m almost out of plan pages but have a lot of ink left. Normally, I would not have printed as much as I have but because I didn’t have to worry about ink I printed several eBooks. I’ve been using the “economical” setting, as that’s what I’ve always done to conserve ink. It doesn’t seem to be necessary with this printer and the Instant Ink program.
If you’d like to give the HP Instant Ink program a try, you’ll need to have a compatible printer. Follow my referral link by clicking HERE to sign up and to see if your printer is compatible.
Trim Healthy Mamas, that means you can easily make your own cookbooks from all the recipes you’ve saved on your computer!
Like this post? Pin it to your favorite Pinterest boards…in case you can print them later. And bind them in books. For cheap.
Join the Conversation