One thing that helps when you’re trying to keep your eating under control is keeping your hands busy.
Nothing does that better than yarn.
No, I don’t mean tying your hands together…I’m talking about knitting and crocheting!
Sister learned how to knit a few years ago and has far surpassed my expectations. She makes simple things like scarves, but also fingerless gloves, mittens, hats, socks and even stuffed toys…er…amigurumi.
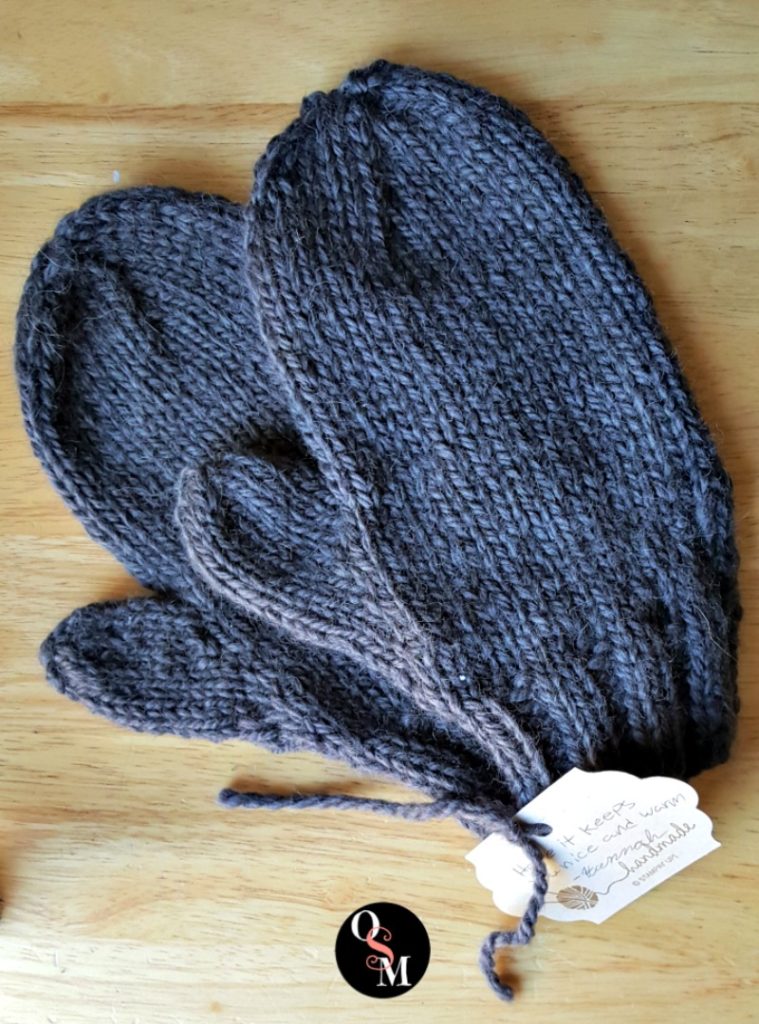
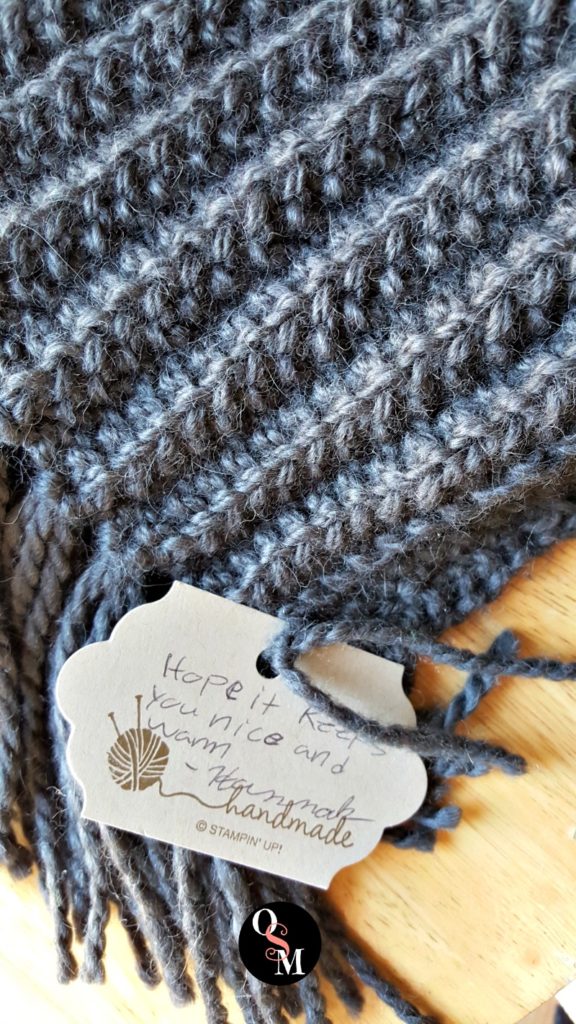
She just finished these gorgeous baby alpaca mittens and seven foot long scarf for my brother. If you’ve never worked with baby alpaca yarn…just do it. I’m sad that we’re delivering them tomorrow. They are just heavenly!
I’m totally jealous. I kind of stink at knitting.
If you think something is too hard, try it anyway. You might be surprised!
I’d wanted to learn how to crochet for a long time, but I thought it looked too complicated.
That was my problem…I *thought* it looked too complicated.
In December of 2016 (just a couple months ago!) I learned how to crochet by watching this helpful YouTube video. Never underestimate young people, you can learn a thing or two from them!
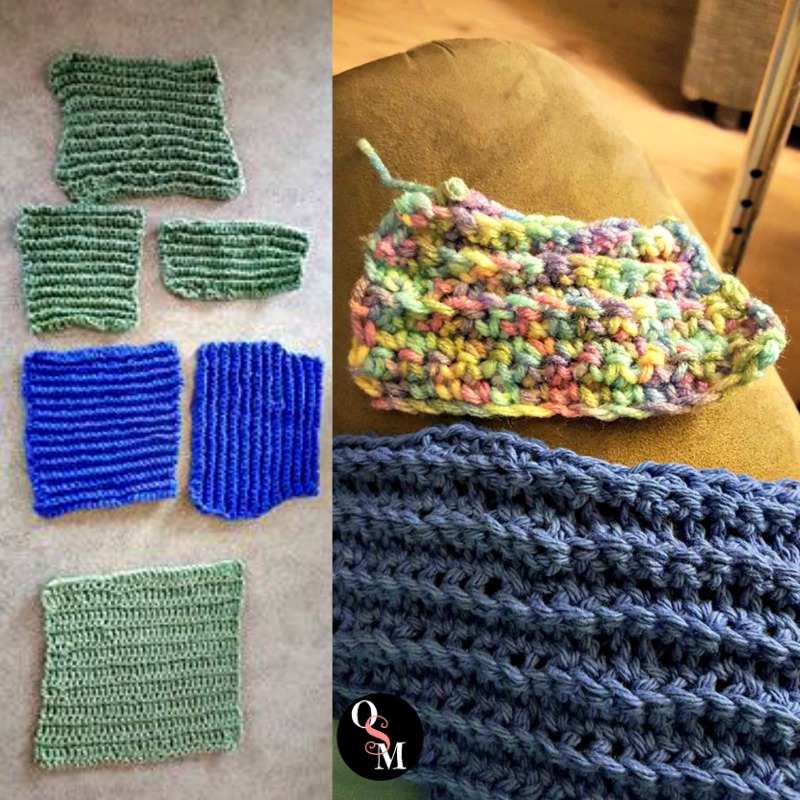
My first crochet creations were lots of dishcloths. Well, that’s what they were SUPPOSED to look like but they ended up being oddly-shaped swatches of fabric. They work fine, they just don’t look as nice as I’d like. I had trouble with decreasing…and increasing…and generally not crocheting things squarely.
Practice makes perfect, right? I did get a few to turn out nicely, my mom asked me to make some for her to give as gifts and I made a few for friends.
Just dive right in! (But look first…)
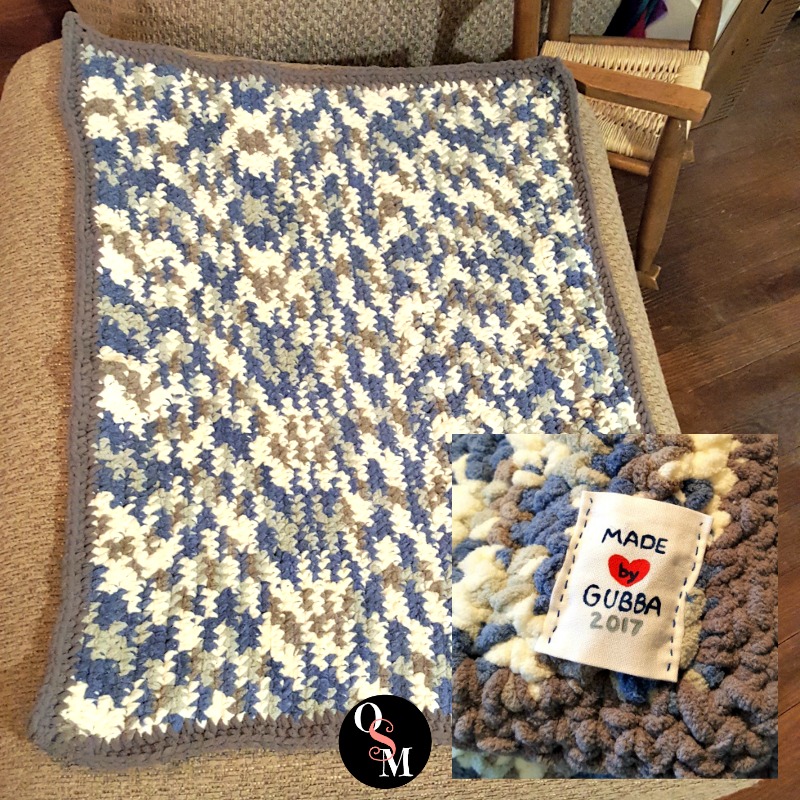
We have a grandbaby that was due January 31st. We’re still waiting for him to decide to be born, but it will be any day now. A couple weeks after I learned to crochet, I decided to start crocheting a blanket for him using this super-softy Bernat Blanket Yarn – two skeins of Countryside (107788) with a Dark Grey border. It’s sooo soft and squooshy. I want one for myself!
I got it finished, then realized it had more of a flared-out apron shape than a rectangle, so I frogged three-fourths of it (that’s fancy crochet-speak for Ripping Out All Those Stitches You Worked So Hard On…).
Had I checked sooner, the error would have been caught before so much work had been done. I started over, paid closer attention to where the ends of my rows were, and ended up with a blanket that looked much better. The new parents-to-be loved it, and I was so happy to have made something for the grandson!
Unfortunately, I don’t have a better picture of this lovely thing. But it’s so unbelievably soft and cuddly, just like the little guy that will soon (hopefully) be using it.
Freely you received, now freely you give…
We were blessed by a friend with a nice stash of free yarn. Some of it is discontinued, much of it is unidentified. But I’ve been making all kinds of things with it.
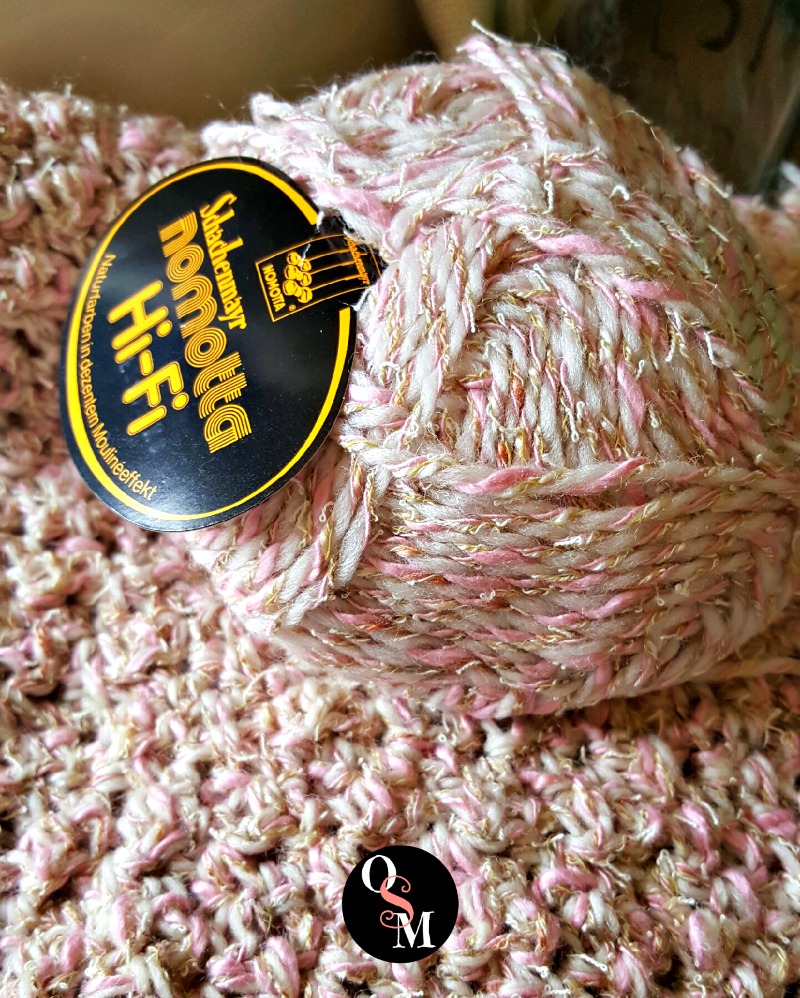
My mom’s birthday is in January and I decided I would just “whip out a quick afghan” with this beautiful Schachenmayr yarn using this Easy Texture Lap Blanket pattern I found on Ravelry.
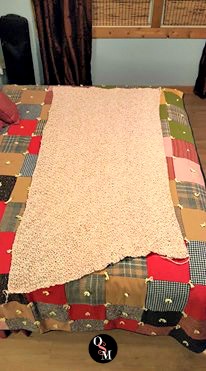
I was almost finished with it when I thought it would be a good idea to lay it out and check to make sure it looks like a rectangle and not some weird shape.
Nope.
It resembled the state of Indiana and looked like it was crocheted by drunken lemurs. Ugh. I apologize for the bad picture. But, well, it was just bad all around…
Our local library is awesome and has a yarn club. Becky the amazing activities director gave me a very useful tip – mark the end of a row with a paper clip. I frogged the entire blanket…ripped out hours and hours of work…and started over, using her tip. It’s maintaining its shape nicely.
I hope to have it finished by Mother’s Day…sigh.
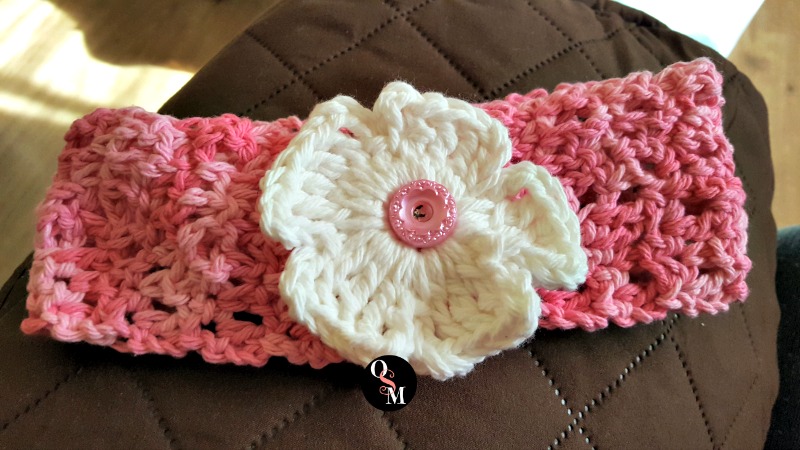
I’ve made a flower headband for my friend’s little girl, two squares for a blanket being made for a lady with cancer, and mug cozies, too. I’m a crocheting maniac these days.
Learn how to make this super easy 5 petal crochet flower in this YouTube video tutorial. I love YouTube! Plus, the pattern for the headband can be found here. I’m not sure I followed it exactly right, but it looked nice anyway.
Conquering fears, one stitch at a time.
Square and rectangle things are, in theory, easy. I’ve discovered that they aren’t always as easy as I thought. ROUND things and things with shape have always scared me. I (once again) thought they’d be too hard.
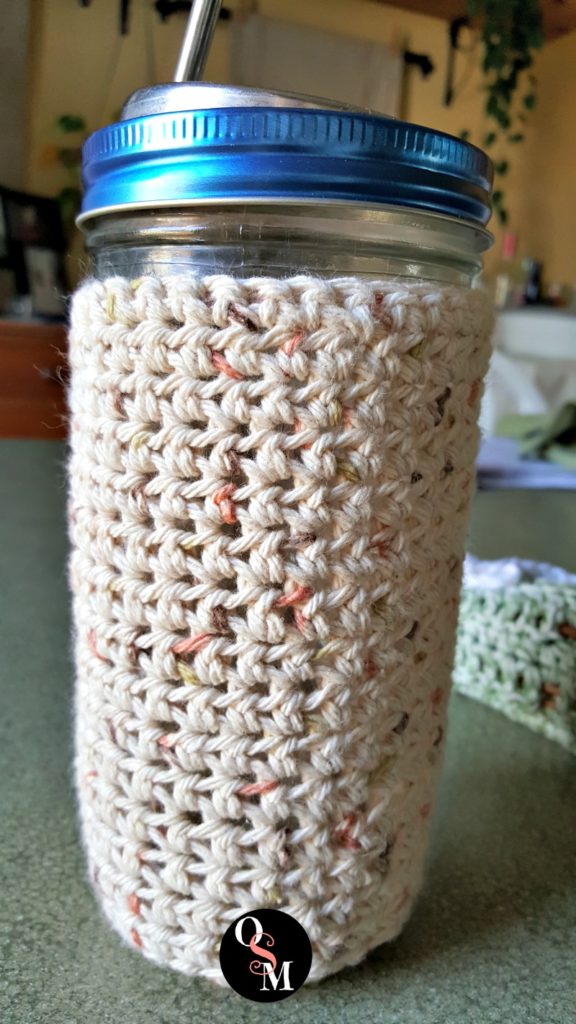
Being a big fan of mason jars filled with GGMS (like my favorite recipe), of course I needed a mason jar cozy. I followed the pattern for Little Cosy #3 in this post and added a crocheted circle on the bottom. I used Lily Sugar ‘n Cream cotton in Sonoma Print. I love, love, love it!
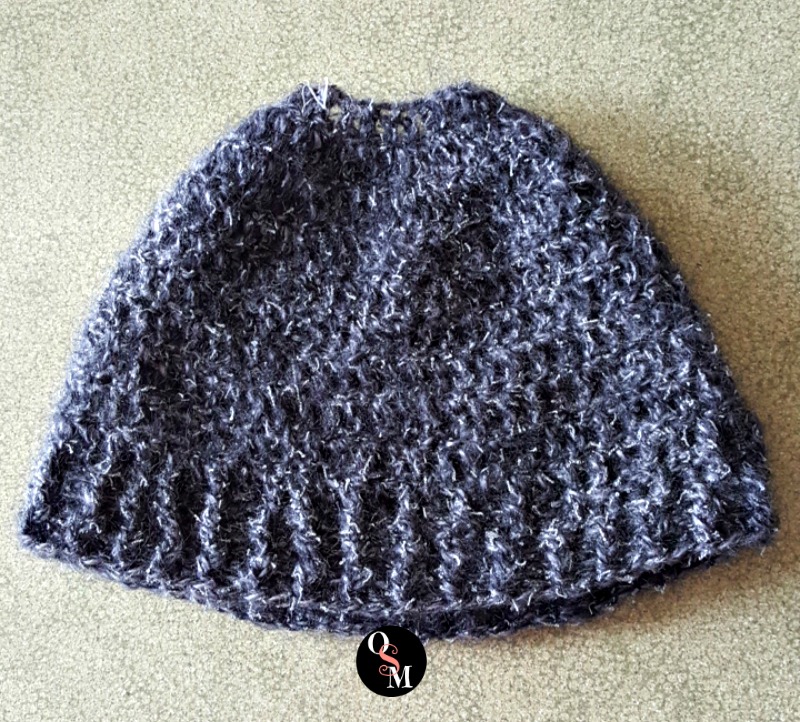
My round thing fears conquered…look what I made next – a HAT! A round thing with shape!
Once again, YouTube videos for the win. This tutorial from All Crafts Channel was very helpful and I was able to complete this hat in around three hours. I even learned two new stitches.
So I guess it’s only natural that I should venture into making my own patterns for things.
If you can’t find what you’re looking for, make your own.
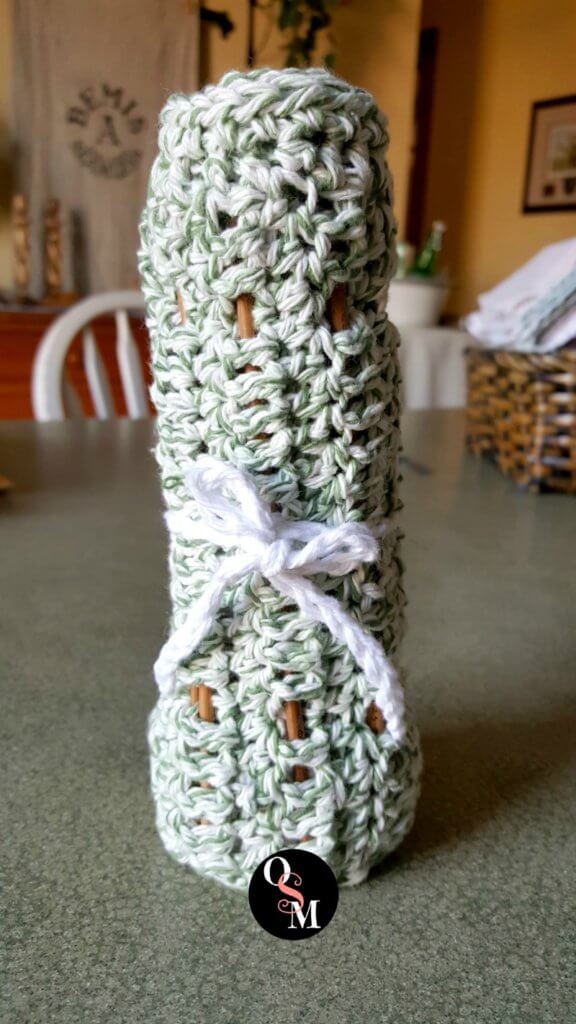
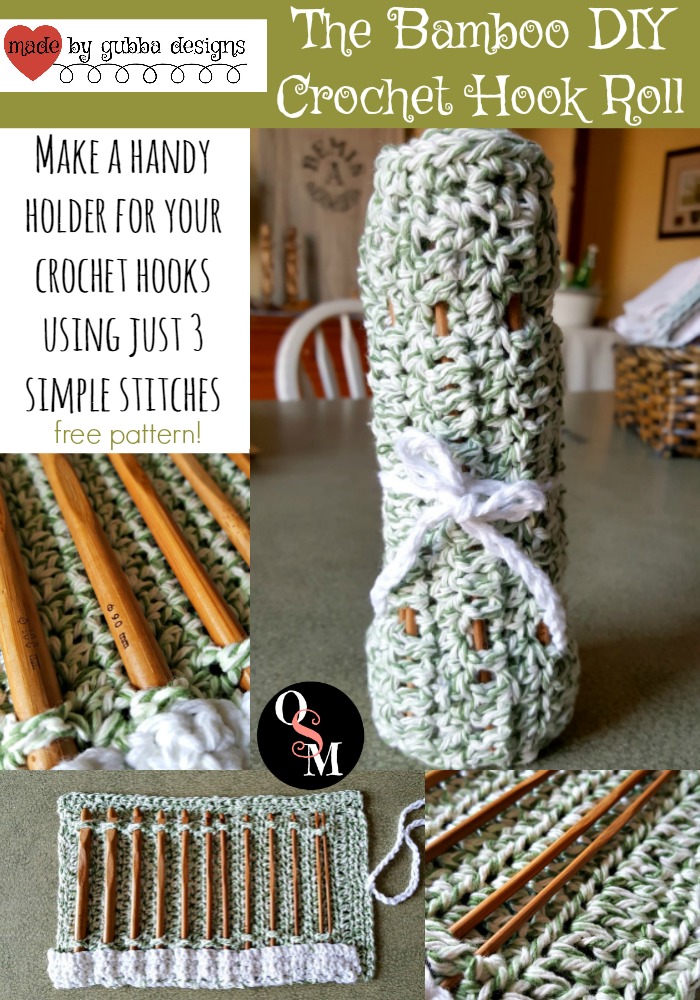
I got this set of bamboo crochet hooks just the other day for free, all I paid was the shipping! With 12 hooks, I needed a way to keep them contained. Why not make a DIY Crochet Hook Roll?
Pinterest is a treasure trove of crafty yarny things, but despite my best efforts I just could not find a pattern that fit these criteria:
- super easy
- used a cotton yarn I had
- used a cotton yarn I had enough of to make a DIY Crochet Hook Roll
- looked like the DIY Crochet Hook Roll that was in my head
So, I just created my own. I’m calling it the Bamboo DIY Crochet Hook Roll.
It was after 4 am before I finished this project (I had started it around 9:30 pm while watching a movie with the hubs and had to frog several times because I would forget to alternate stitches…) but I love how it turned out. I wrote down what I did so I could share the pattern with you.
A disclaimer…
Please remember that I am a newbie crocheter. This Bamboo DIY Crochet Hook Roll is the first pattern I’ve ever created. It worked for me, your results may vary. If you discover an error in the written pattern, please message me so I can fix it! Just click on Contact Me on the menu bar at the top of the page.
I don’t know enough about things like gauge to tell you what that should be for you. Since this is just a DIY Crochet Hook Roll and not a sweater, it’s probably not that important. You just want to make sure you’re not making your DC stitches too loose.
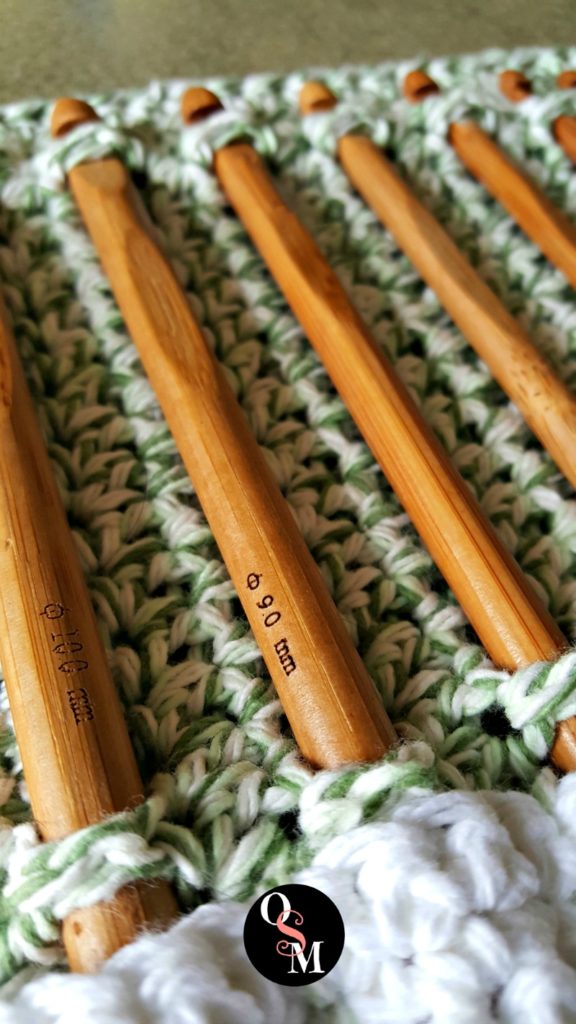
You will secure the hooks between DC (double crochet) stitches, so simply make enough rows of DC to accommodate the number of hooks you want to store. You can store two smaller hooks in one DC row. The number of hooks you have will determine the number of rows.**
There may be an easier way to make the pockets, but I couldn’t work out how to make it all one piece. I did like the contrasting yarn colors though so it works for me. Since bamboo hooks would be nestled inside I thought the green was lovely. And, natural fibers for natural material hooks just seemed right!
If you make this, I’d love to see a photo of your completed DIY Crochet Hook Roll!
Are you on Ravelry? I’m on there as madebygubba and I’ll be saving lots of project ideas I may never get to and sharing my own creations as I come up with them.
You can also find this pattern on Ravelry to save to your library!
I shared this pattern on That DIY Party, check it out for great DIY ideas!
How to make this Easy Bamboo DIY Crochet Hook Roll
Materials:
1 ball Lily Sugar ‘n Cream cotton yarn, Green Twists (102020)
Enough white cotton yarn in similar weight (worsted, 4-ply) to make the pockets and tie. I used some out of my stash, and was nowhere near a significant amount of a ball or skein
4.5 mm hook (US size G/7) [this set looks similar to what I have]
Scissors
Abbreviations:
Ch – chain stitch
SC – single crochet stitch
HDC – half double crochet stitch
DC – double crochet stitch
How to make the Bamboo DIY Crochet Hook Roll:
Ch 25 (or slightly longer than the length of your hooks)
ROW 1: SC across the chain, turn
ROW 2: HDC across the row, CH 1, turn
ROW 3: DC across the row, CH 1, turn
ROWS 4+ (see ** above): alternate HDC and DC rows until you’ve completed enough rows for the number of hooks you want to store, CH 1 and turn at the end of each row
FINAL ROWS: After you’ve crocheted enough DC rows for your hooks, do 1 row HDC, CH 1 and turn, then 1 row SC
Fasten off and weave in ends with the yarn needle
**If you decide you’d like it a little longer, do a row or two of HDC along the long edge to increase the height…I may or may not have experience with this 😉
Make and attach pocket piece:
Materials:
White cotton yarn
4.5 mm (US G/7) hook
Lily Sugar ‘n Cream cotton yarn, Green Twists (102020)
Yarn needle
How to make it:
CH enough chains to span all but the last HDC and SC row on the right edge. I think mine was about 45.
ROW 1-4: SC, CH1 and turn
Fasten off and weave in ends with the yarn needle
Attach the pocket piece:
With the CH edge facing down, align the left corner of the pocket piece with the left corner of the Bamboo DIY Crochet Hook Roll
Using the Green Twists yarn and yarn needle, start at the top of the pocket piece and sew the left edge
When you reach the bottom, you might want to place your hooks into the hook roll to see where to sew the “pocket” edges. Place the hook end of the crochet hook under one DC stitch in the upper part of the row and the end of the hook in a DC stitch just above the pocket. Slide the hook down a bit to be in the pocket area.
Sew along the bottom, going up between each hook to sew the pocket edges as you work across the hook roll
Sew the right edge and knot off
Make and attach the tie:
CH 50 (or as many as necessary to fit around your rolled up hook roll to tie easily)
Knot the ends and cut off the excess yarn
On the right edge of the DIY Crochet Hook Roll, find the center. Push the tie through between two SC stitches. Tie securely, making sure the strands are even
How to “wet block” your crochet creations, and why you should.
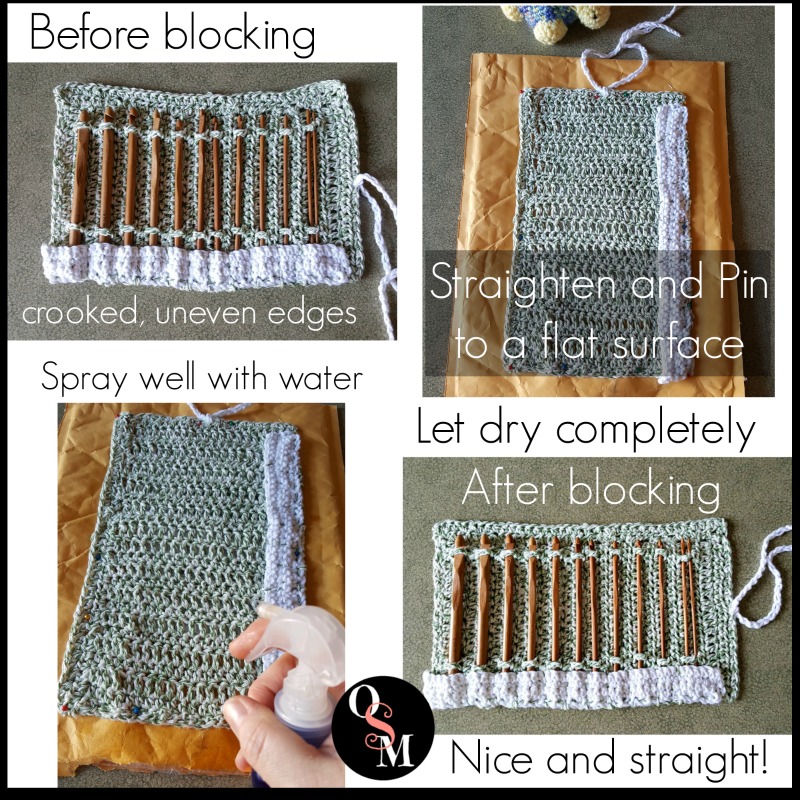
You may find that despite your careful attention to detail and even tension, your Bamboo DIY Crochet Hook Roll is not as parallel as you’d like. No worries! Just wet block it!
Wet blocking is a simple procedure. Simply pin your crochet hook roll to a flat surface, making sure the edges are straight and even. Spray it thoroughly with water and allow to dry. The water and shaping helps set the shape in the yarn, giving your finished project a very nice look.
I followed the easy instructions at Little Monkey Shop to straighten out my DIY Bamboo Crochet Hook Roll. A padded mailing envelope from a package I’d received recently worked great as a blocking “board.” Pinterest has lots of great ideas for making your own blocking boards! I pin ideas to my Needlecraft board if you’d like to see some.
There are other methods of blocking, such as steam blocking, but you need to check the label on your yarn to make sure it’s OK to iron it. I thought this cotton yarn would be ok for steam blocking, but nope.
Remember…if you’re crocheting, you can’t eat.
Well, not as easily anyway. Replace your mindless snacking with a hobby such as crocheting and keep those hands busy. Crocheting also seems to be good for your health! “Relaxed, repetitive motions such as the ones used in crochet and knitting can help calm down the body and the brain.”
With all the insanity in politics lately, everyone should grab a hook and create something beautiful.
The world needs it.
If you don’t have time to make this Bamboo DIY Crochet Hook Roll now, PIN it for later here:
Join the Conversation