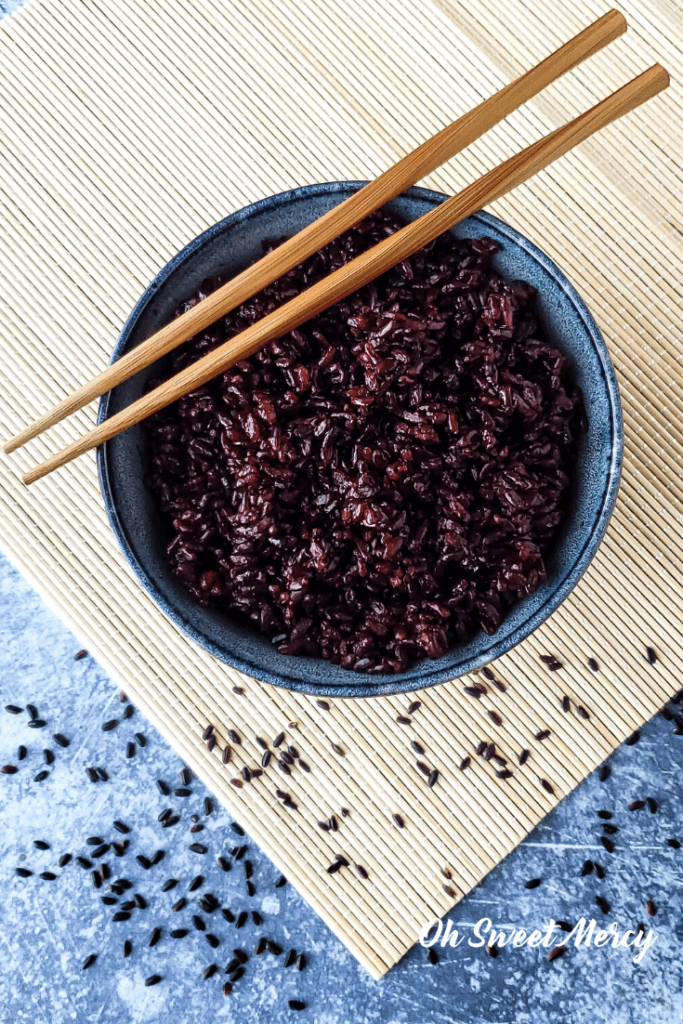
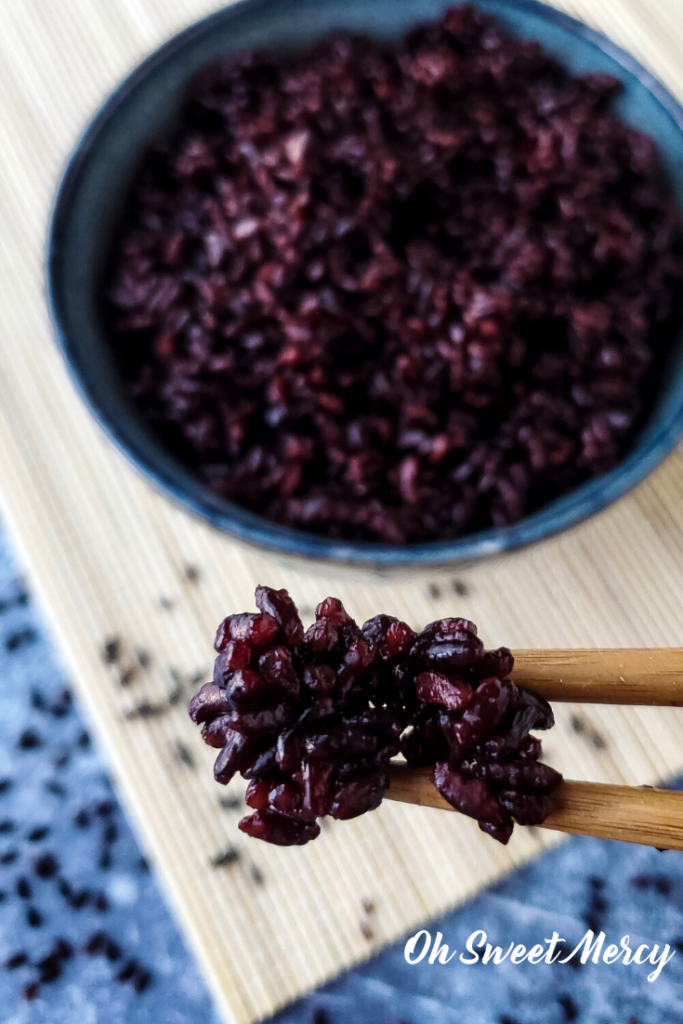
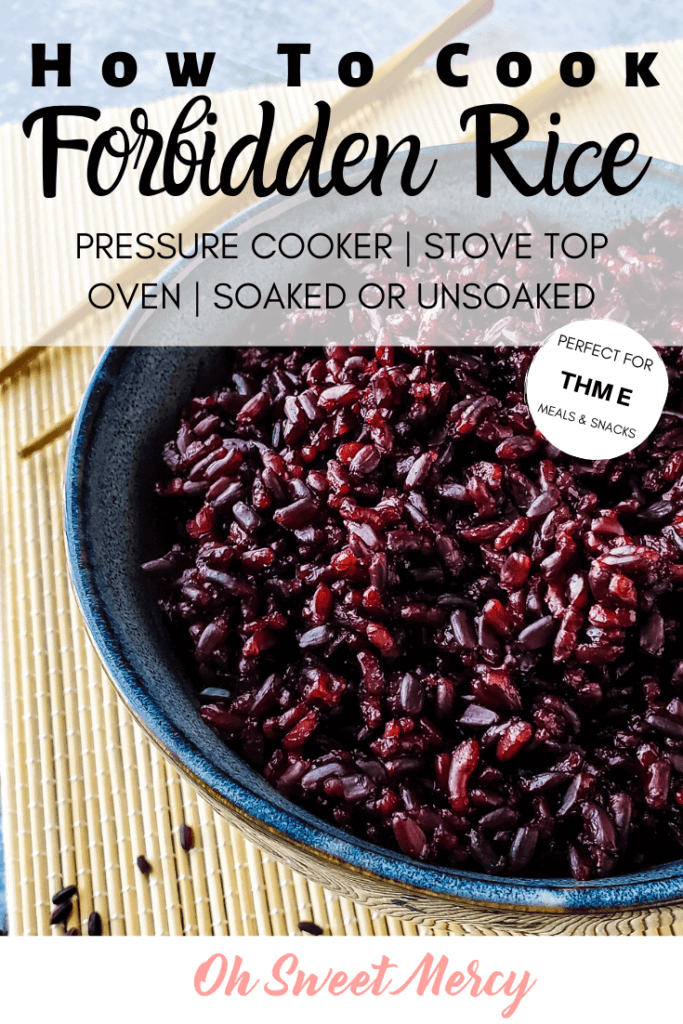
Have you ever heard of black rice? It’s also called forbidden rice…but that’s not because it’s bad for you. In fact, it’s a wonderfully healthy THM E fuel source. It has a delicate floral taste with a hint of nuttiness and we like it better than brown rice. In this post I show you how to cook black rice in an Instant Pot, Ninja Foodi, on the stove top, and even in your oven.
What Is Black Rice or Forbidden Rice? Is It Healthier?
Black rice is known as forbidden rice, or the Emperor’s rice. It was called forbidden because it was reserved for the Emperor only, not the common folk in China.
This is because it is a nutritional superstar! And of course if you’re the Emperor and eating nutritionally superior foods than your subjects your health is likely to be better, right?
Thankfully in this day and age we are not forbidden to enjoy this dark, lovely, and nutrient-rich grain.
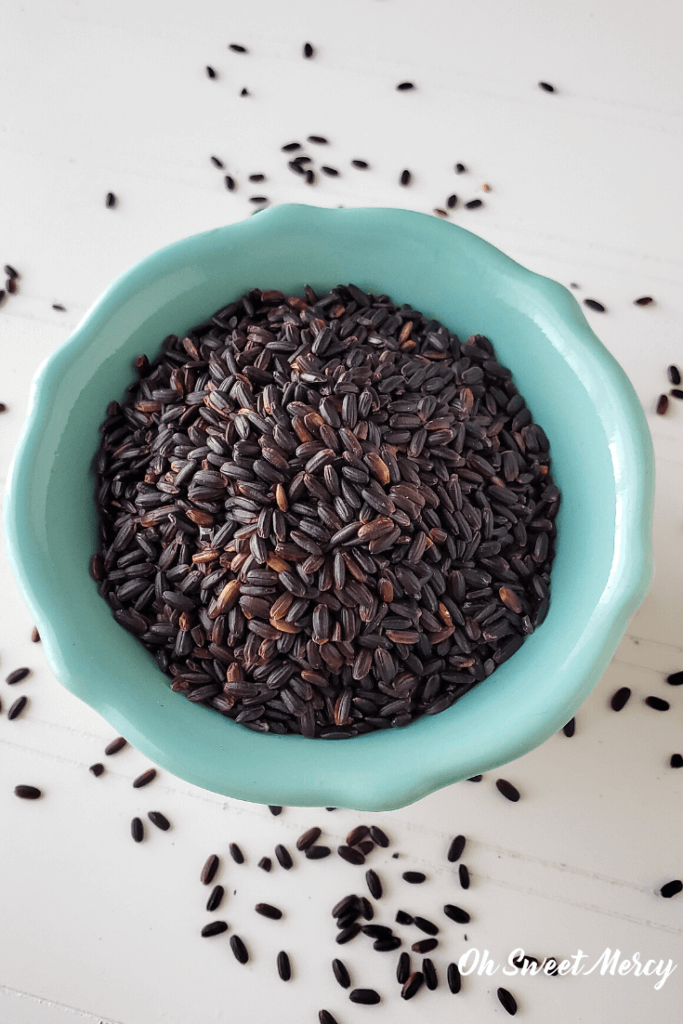
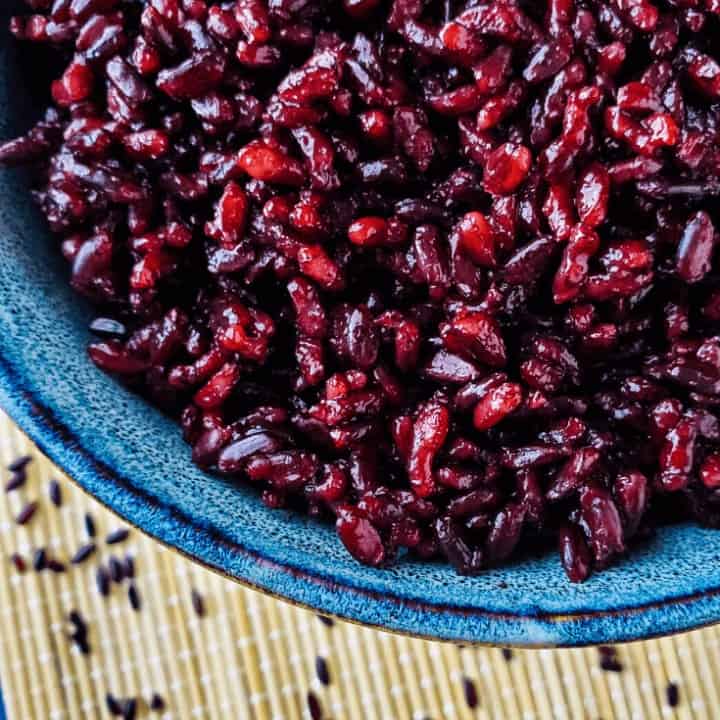
Black rice gets its dark, purplish hue from the high amounts of anthocyanin, an antioxidant that also gives blueberries, eggplants, and other deep, dark, blue/purple foods their color. Like many antioxidants, anthocyanins can help reduce inflammation in the body.
Black rice is actually healthier than brown rice, too! It has more fiber and protein, which is so very helpful in keeping our blood sugar in check when we eat more carby foods on THM. Balanced blood sugar is essential to weight loss success!
Where Can I Buy Black Rice?
Many grocery stores carry exotic grains these days. I found Lundberg Organic Black Pearl Rice at Meijer. It’s shelved with quinoa, wild rice, and other similar grains.
I’ve also seen it a local natural foods store sold in bulk. And, of course, since Amazon has everything it’s available there as well.
There are different types of forbidden rice so be sure to read the preparation instructions to compare with what I’m sharing here in this post. You may need adjust times or amounts of water.
The Best Way To Prepare Forbidden Rice.
If you’re following the THM (Trim Healthy Mama) lifestyle, the best way to prepare black rice is without any added fat while cooking.
In addition, soaking overnight with something acidic, like apple cider vinegar, helps make the rice more digestible and healthy.
I’ve included instructions for cooking both soaked and unsoaked rice so read on to learn how. Don’t let the soaking step overwhelm you and keep you from doing it! It’s really easy and your rice ends up so much healthier.
Finally, you can cook your black rice in a pressure cooker, on the stove, or even in the oven. I’ll take you through each method step by step below…
How To Cook Black Rice In A Pressure Cooker.
When cooking rice in a pressure cooker it’s very important to check your owner’s manual (or recipe book if it came with one) for cooking times and how much water to use.
You’d think all pressure cookers would be the same, right? Not necessarily! I have both an Instant Pot and a Ninja Foodi. While the recommended water amounts are the same, the cooking times for brown rice are totally different.
Black rice is cooked the same as brown rice, so follow the guidelines for brown rice. My unsoaked black rice cooked perfectly in my Ninja Foodie at 15 minutes high pressure with 10 minutes of natural pressure release.
The only exception is when cooking soaked rice. Do you do that? You should! Keep reading for how to do that…
How To Cook Soaked Black Rice In A Pressure Cooker.
Soaking grains of any type neutralizes the phytic acid naturally present in the grains. This also applies to nuts and dry beans/legumes.
Phytic acid, an anti-nutrient, works against your body’s ability to absorb the nutrients in the grains, nuts, and beans. You want all the nutrition, right?
A simple, overnight soak does the trick!
However, when soaking grains it’s necessary to add something acidic to the soaking water. Apple cider vinegar, lemon juice, kefir, and even whey work just fine.
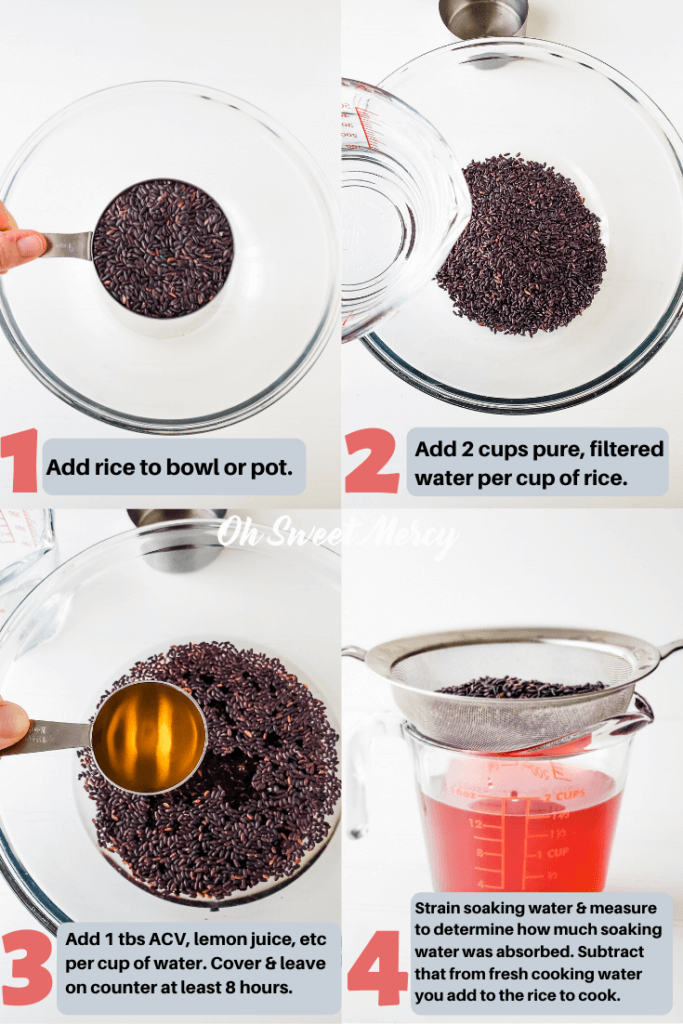
Choose one, then add 1 tablespoon of it per cup of water that you’re using to soak your rice. Mix the rice, water, and acidic medium together in a bowl. Cover and allow to soak at least 7 to 8 hours or overnight.
You can then cook the rice as is, or rinse it. Rinsing the soaked rice reduces any sour flavor. If you’re not used to soaked or soured foods you might want to try rinsing your rice first.
However, be sure to follow these steps when rinsing your rice:
How To Cook Soaked and Rinsed Black Rice (And Other Soaked Grains).
I first learned of this technique after reading All The Nourishing Things’ tutorial on making fluffy soaked quinoa. It’s brilliant, and also kind of like duh, why didn’t I think of that??!!
Her method of cooking soaked quinoa in the Instant Pot is also spot on. Perfect, fluffy quinoa every. single. time. So if you like quinoa and want to cook it in your Instant Pot I highly recommend her method, check it out!
This method also works perfectly for any other grain you soak.
Grains absorb water while they soak, so you’ll need less water to cook them. However, you need to know just how much water they’ve absorbed.
The easiest way to know how much water to add to your rinsed grains to cook them is…
- Using a fine mesh strainer, strain the water out of the grains into a bowl.
- Allow the liquid to drain off for several minutes, I also shake the strainer.
- Measure the liquid in the bowl.
- Subtract that amount from the total amount of liquid you started with. This gives you the amount of liquid absorbed by the grains.
- Now, subtract the amount absorbed from the total amount of liquid recommended for cooking your grains. This is how much water to cook your soaked and rinsed grains in.
For example, for both my Instant Pot and Ninja Foodi, 1 1/4 cups of liquid is the recommendation for cooking 1 cup of brown rice.
When I measured the remaining soaking liquid it showed my black rice absorbed 1/4 cup. Thus, I only added 1 cup of water to the rice before cooking.
Measure Every Time!
While it would be fantastic if all grains absorbed the same amount every time, that is not so. Even the same type of grain can absorb different amounts at different times.
Therefore measuring every time before cooking ensures your grains cook properly.
Follow Your Pressure Cooker’s Recommended Cooking Times (Except For Soaked Rice).
My Instant Pot says to cook brown rice for 22 minutes at high pressure. However, my Ninja Foodi says 15 minutes at high pressure.
Since soaked rice takes less time to cook, reduce the cooking time. I reduced the time by half and my black rice was perfectly cooked.
For my Instant Pot, that meant 12 minutes of manual high pressure with around 10-11 minutes of NPR (Natural Pressure Release) before releasing the remaining pressure.
In the Ninja Foodi, 8 minutes pressure cooking with 10 minutes of NPR was perfect.
Making Forbidden Rice On The Stove Top (Or Oven).
When cooking black rice on the stove top, follow the instructions given on the package. If you purchase your black rice in bulk, there’s probably no instructions.
No worries! Cooking rice is pretty straightforward, though black rice does take quite some time to cook.
If you don’t have a pressure cooker I highly recommend batch cooking and freezing. That way you spend a few hours one day cooking rice for several weeks instead of an hour or so every week.
Use The Same Technique For Soaked And Rinsed Rice Above!
Just like I explained above for cooking soaked black rice in the pressure cooker, measure the soaking liquid before cooking. Subtract the amount absorbed from the recommended amount of water for cooking on the stove top.
As with other rice, you’ll bring the rice and water to a boil, cover with a tight fitting lid, then simmer for a while.
The instructions on the package of black rice I used said to simmer for 30 to 35 minutes and remove from the heat. Allow to steam for 10 minutes.
How To Make Black Rice In The Oven (And Why I Do).
I grew up cooking on a gas stove. So when we bought the home we currently live in I had to adjust to cooking on an electric stove.
While I figured out everything else, cooking rice successfully on an electric stove just completely escaped me.
It would boil over. Or burn. I just could not get the burner set to the right place for even heating of water and rice.
A friend of mine told me she bakes hers in the oven and I gave it a try. Perfection! It’s super easy and also frees up the stove top for cooking other things.
Here’s how I do it:
- Preheat oven to 350 degrees.
- Add water and rice to a pot with a tight-fitting, oven-safe lid.
- Bring to a boil then cover with the lid.
- Put in the oven and bake for 25 minutes.
- Turn off the oven but leave the pot in for 5 minutes.
- Remove from oven and fluff with a fork.
It never sticks, boils over, or burns this way! Of course I had to give it a try with the black rice.
This method works with both white and brown rice. I typically soak my rice so it cooks within this time. However I was surprised to discover that even the unsoaked black rice cooks within half an hour in the oven!
There was a tiny bit of water not absorbed but it was perfectly tender. I’d probably let it go the whole 30 minutes with the oven on then off for 5 minutes.

How To Fit Black Rice Into Your THM Meal Plan.
Now that you’ve cooked your antioxidant-rich black rice how do you use it?
If you’re a Trim Healthy Mama, remember that rice is an E fuel. This means we choose a lean protein and eat our rice with very little added fat. Up to 1 teaspoon or 5 grams so choose wisely!
Some delicious ideas for you:
- Mix with soaked and cooked quinoa and lentils, add half a teaspoon of ghee (or other healthy fat) and pink salt. So simple yet so delicious and satisfying!
- Serve seasoned with garlic and herbs alongside baked lean protein such as chicken breast or lean fish.
- Add to your THM E taco salad or tacos.
- Include forbidden rice in low fat soups.
- Part of a colorful rice salad or in my Easy Southwestern Chicken And Rice Salad.
- Anywhere brown rice is called for, like in my Dairy Free Cheesy Chicken, Broccoli, and Rice Bake.
Always remember: watch your portion size for the rice (see the Plan book for complete details), include lean protein, and keep your added fat low in THM E meals.
One More Note On Black Rice…You’ll Want To Pay Attention To This!
Black rice stains. So if you have containers or wooden spoons you don’t want stained don’t use those when preparing or storing black rice!
It’s also…strange looking. I thought my kids would balk at trying it and was pleasantly surprised they didn’t. We all discovered that we like it even better than brown rice so that’s wonderful!
Don’t let the color turn you off from trying this deeply nourishing and delicious rice. You just might discover a new favorite!
Have You Ever Tried Black Rice? What Is Your Favorite Way To Eat It? If Not, Will You Try It Now?
How to Cook Black Rice (Forbidden Rice) - Pressure Cooker, Stove Top, or Oven
Dark, exotic, and mysterious black (or forbidden) rice is a powerhouse carb fuel for the Trim Healthy Mama. Cooking it need not be mysterious though! Here's 3 easy ways to prepare this nourishing rice - pressure cooker, stove top, and even your oven. *NOTE cook time shown is for unsoaked rice cooked on the stove top. Depending on the method you choose your time could be longer or shorter.
Ingredients
- 1 cup black pearl rice
- Water for soaking, if desired - 2 cups per 1 cup of rice
- 1 tablespoon acidic medium (ACV, lemon juice, whey, etc) for soaking PER CUP OF WATER
- Water for cooking - varies depending on method
Instructions
SOAK THE RICE
- In a large mixing bowl or pot, place the rice, water, and acidic medium of choice and mix well.
- Cover and leave on the counter for at least 8 hours or overnight.
- You can then cook as is OR rinse the rice for a less sour taste.
- If rinsing, strain the rice over a bowl using a fine mesh strainer. Measure the remaining liquid, subtracting the amount measured from the total amount of soaking water used. This is the amount of water absorbed. SUBTRACT THE AMOUNT ABSORBED FROM THE FRESH WATER YOU ADD TO COOK THE RICE.
- Rinse the rice well in the strainer with cool running water.
PRESSURE COOKING THE RICE
- Consult your pressure cooker's instruction manual for recommendations on time and amount of water. If black rice is not listed follow the instructions for brown rice.
- If you do not soak and rinse the rice, skip step 3 and just add the rice and recommended amount of water for brown rice.
- If you soaked and rinsed the rice, subtract the amount of water absorbed from the recommended amount of water. For an Instant Pot and Ninja Foodi, the recommended amount of water per cup of brown rice is 1 1/4 cups, so subtract what was absorbed from that amount. The new amount is how much water you add to the rice.
- If you soaked and did not rinse the rice, cook as is.
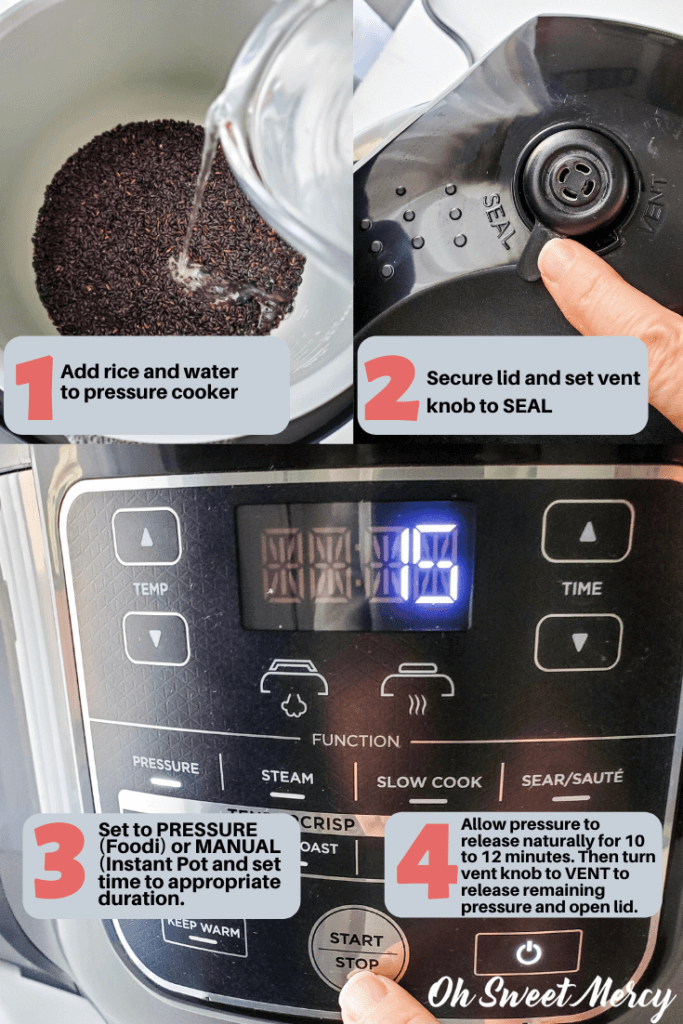
- Secure the lid and make sure the vent knob is set to SEALING.
- For soaked rice, cook for HALF the recommended time in your pressure cooker's manual. For Instant Pot, the recommended time is 22 minutes so set to MANUAL for 12 minutes. For Ninja Foodi the recommended time is 15 minutes so set to PRESSURE, HI, 8 minutes.
- For unsoaked rice follow the recommended cooking times for brown rice.
- After the cooking cycle allow the pot to naturally depressurize for 10 to 12 minutes.
- Release the remaining pressure by turning the vent knob to VENT.
- Open the lid when the pressure is fully released, fluff with a fork, and serve as desired
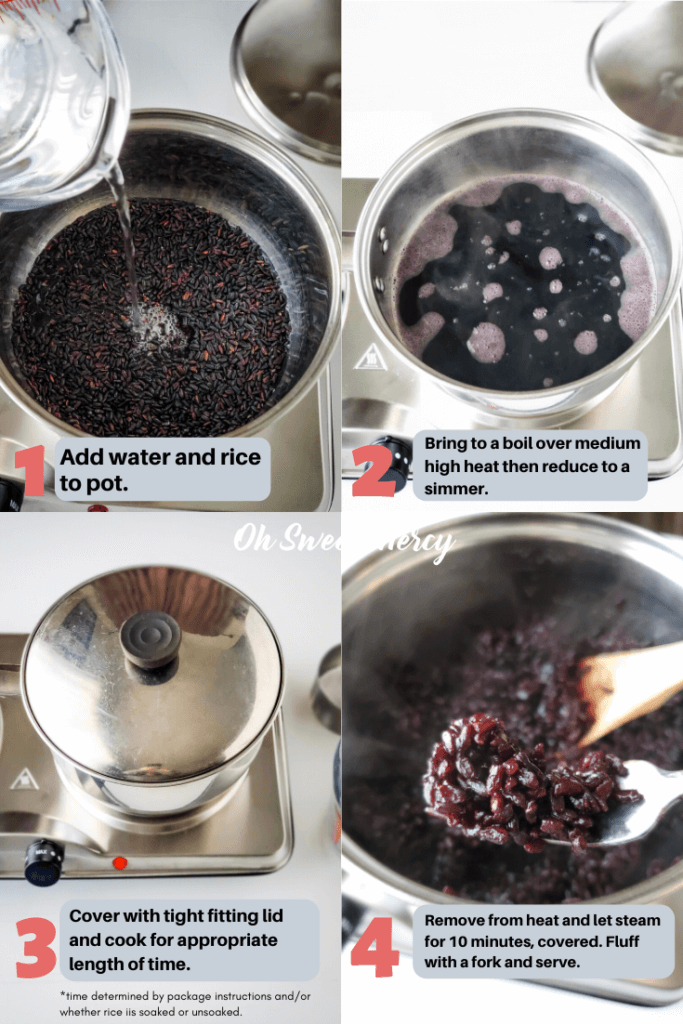
COOK THE RICE ON THE STOVE TOP
- For soaked and rinsed rice, strain soaking water into a bowl and measure. Subtract the amount absorbed from the total amount of soaking water. Then subtract that amount from the amount of fresh water you're adding back in to cook the rice
- Rinse the rice well in the strainer with cool running water.
- Add the rice and appropriate amount of fresh cooking water to a pot.
- Bring to a boil over medium high heat then reduce to a simmer.
- Cover with a tight-fitting lid and cook for 30 minutes.
- Remove from heat and let steam for 10 minutes.
- Fluff with fork and enjoy as desired.
COOK THE RICE IN THE OVEN
- Preheat oven to 350 degrees.
- If soaking and rinsing, follow steps 1-4 in COOK THE RICE ON THE STOVE TOP above.
- If not soaking and rinsing, add rice and water to a pot and bring to a boil over medium high heat.
- Cover with an oven-safe, tight fitting lid and bake in the oven for 30 minutes.
- Turn the oven off and leave the rice in there for an additional 5 minutes.
- Remove from the oven and fluff with a fork. Enjoy as desired.
Notes
Trim Healthy Mamas
Black rice is a THM E fuel source. Take care to observe serving size recommendations and eat with lean protein and recommended amount of added fat as outlined in the THM Plan book.
Nutrition Notes
Fat included in the nutrition information is fat naturally present in black rice. It does not count toward your added fat allowance on THM.
Nutrition info calculated for 1/2 cup. If you have more than 1/2 cup you'll need to calculate net additional carbs.
Recommended Products
As an Amazon Associate and member of other affiliate programs, I earn from qualifying purchases.
-
 IPOW IP01115 Stainless Steel Fine Tea Mesh Strainer Colander Sieve with Handle for Kitchen Food Rice Vegetable, Set of 3
 -
 Instant Pot DUO60 6 Qt 7-in-1 Multi-Use Programmable Pressure Cooker, Slow Cooker, Rice Cooker, Steamer, Sauté, Yogurt Maker and Warmer
 -
 Ninja OP302 Foodi Cooker, 6.5 quart w/dehydrate, Black/Gray
 -
 LUNDBERG Family Farms, Black Pearl Rice, OG2 - Pack of 6
Nutrition Information:
Yield: 6 Serving Size: 1/2 cupAmount Per Serving: Calories: 107Total Fat: 0.67gSaturated Fat: 0gTrans Fat: 0gUnsaturated Fat: 0gCholesterol: 0mgSodium: 7mgCarbohydrates: 22gNet Carbohydrates: 20gFiber: 2gSugar: 0gSugar Alcohols: 0gProtein: 3.33g
Nutrition information is approximate and based on the best knowledge available at the time of recipe publication. Your results may vary due to differences in ingredients. You can make your own calculations if this recipe does not include nutrition info by using an online calculator such as https://recipes.sparkpeople.com/recipe-calculator.asp

Join the Conversation