If you’ve ever had Fathead pizza crust, aka Holy Grail pizza crust, you know what a low carb life-changer that stuff is.
I mean seriously. It’s like eating real, carbolicious, gluten-infested pizza and if you’ve had to forgo that slice of heaven for any length of time this “cheese dough” crust will absolutely astonish you.
If you HAVE had it, you know what I mean. And if you thought it couldn’t get any better I’m about to astonish you once again.
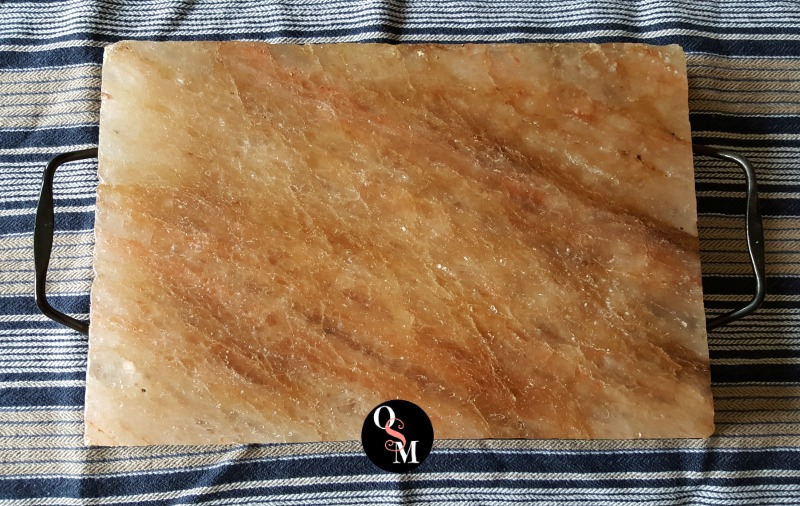
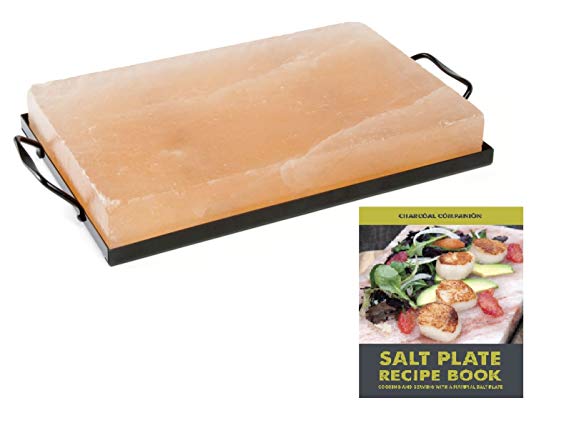
Hello, Himalayan Salt Plate!
Let me introduce you to my little friend. My bestie The Homesteading Hippy blessed me with this gorgeous Himalayan salt plate and I was immediately intrigued by the possibilities. I absolutely ADORE pink Himalayan salt, especially the large-grained variety sprinkled on slices of red, juicy tomatoes picked freshly from the garden and still warm from the sun.
I had no idea you could actually cook on that stuff. Mind. Blown.
Pink Himalayan salt has all of its natural, mineral-rich goodness still intact, unlike your processed-to-death regular white table salt. Salt is demonized for being bad for your heart, but perhaps it’s the lack of essential minerals and trace minerals in the typical salt filling most salt shakers that is the problem.
I’m not a doctor of course, so you do your own research there and make your own decision.
So how do you cook on SALT?
Fair warning, if you’re looking for a microwave-quick experience this is not it. It’s important to slowly bring the salt plate up to temperature so you have to plan ahead. The instructions that came with the salt plate said it takes from 30-60 minutes, increasing the heat in intervals, to correctly heat your salt plate.
You can use this on a gas range, in your oven and even on the grill. We can’t wait to try grilled salmon with it as soon as Spring arrives (or anything remotely Spring-like in the weather). I have an electric stove and I’ve seen that it’s not recommended for electrics but also that you CAN if you use something to elevate it off the element. I haven’t tried that yet but will update when I do.
So, you simply heat it and cook your food on it. It just takes a while to get it ready. And like all good things, it’s worth the wait!
Won’t my food get super salty?
The more moisture your food has, the more salt will be absorbed into the food. The manual recommends if your food turns out too salty to oil it. I’m not sure if it means the food or the salt plate, to be honest. I’ve cooked chicken breast on it and they were a bit salty even though I coated the pieces with some oil. Next time I will try coating the salt plate itself with oil.
Fathead pizza has very little moisture, and it was not overly salty at all. In fact, it was wonderfully perfect.
How do you clean a Himalayan salt plate?
That was one of my first questions, and one I’ve been asked a lot since I started sharing photos and videos on the OSM Facebook page. It’s surprisingly simple.
Since salt is naturally antimicrobial (think salt-curing meats and fish), all you need to clean it is water and, if necessary, a scrubby or brush to dislodge any particles that may be stuck to the plate. Water will naturally erode your salt plate over time so you want to clean it as quickly as possible. Then let it dry 24 hours before using it again.
I was hoping it would keep its gorgeous pink color, but it’s developed some equally pretty darker colorations as I’ve used it. I’m just partial to that Himalayan pink salt pink, I guess.
So how do I make awesome Holy Grail Fathead Pizza on it?
1 – First, start heating your salt plate per the instructions that came with it. I’m assuming it’s all pretty much the same across the board, but to be safe follow your instructions. I heated mine to 500 degrees, although I think 400 would have been fine.
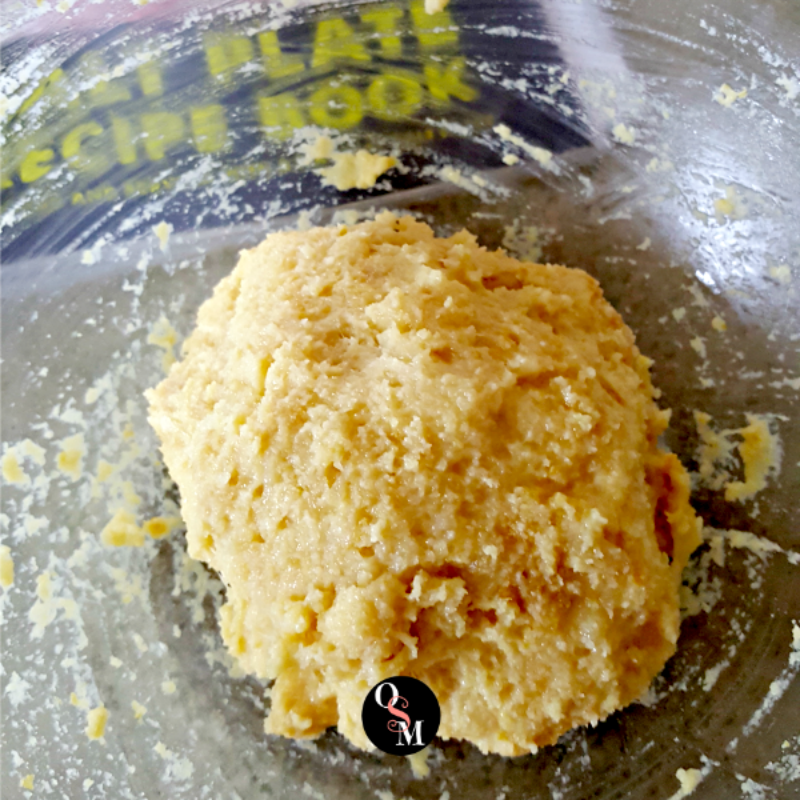
2 – While the oven is preheating, make your cheese dough. I tried coming up with my own variation, but until I perfect that, just follow the recipe for the original HERE. It’s awesome. Seriously. I probably should just leave perfection alone.
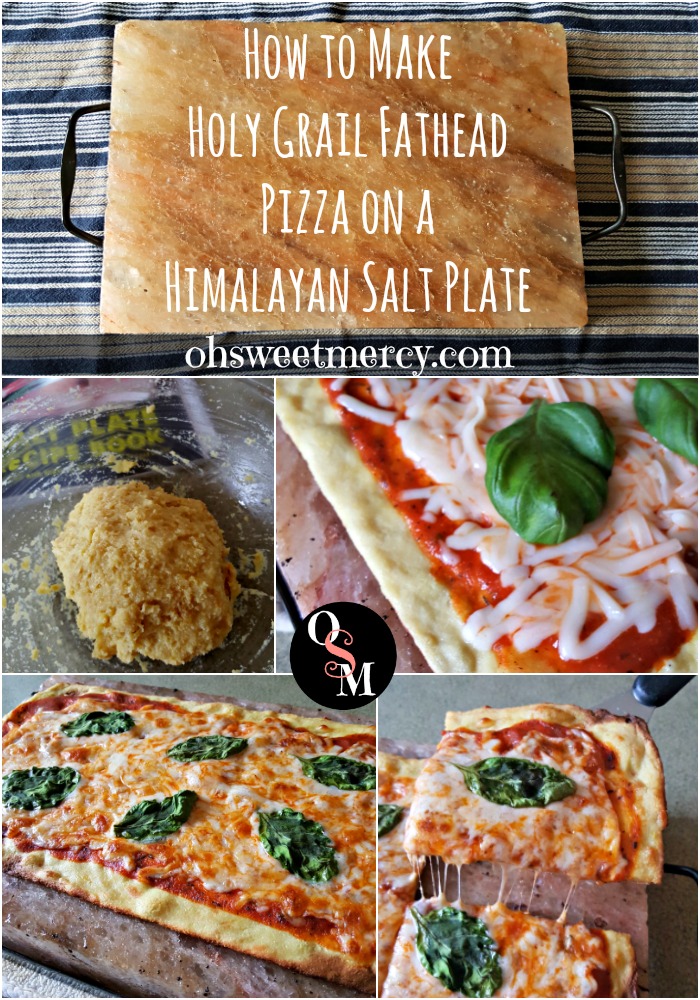
I rolled my dough between a sheet of parchment paper folded over and shaped it into a rectangle just slightly smaller than the dimensions of my salt plate. It was pretty sticky, so I popped it into the freezer for several minutes and the parchment paper peeled off easily.
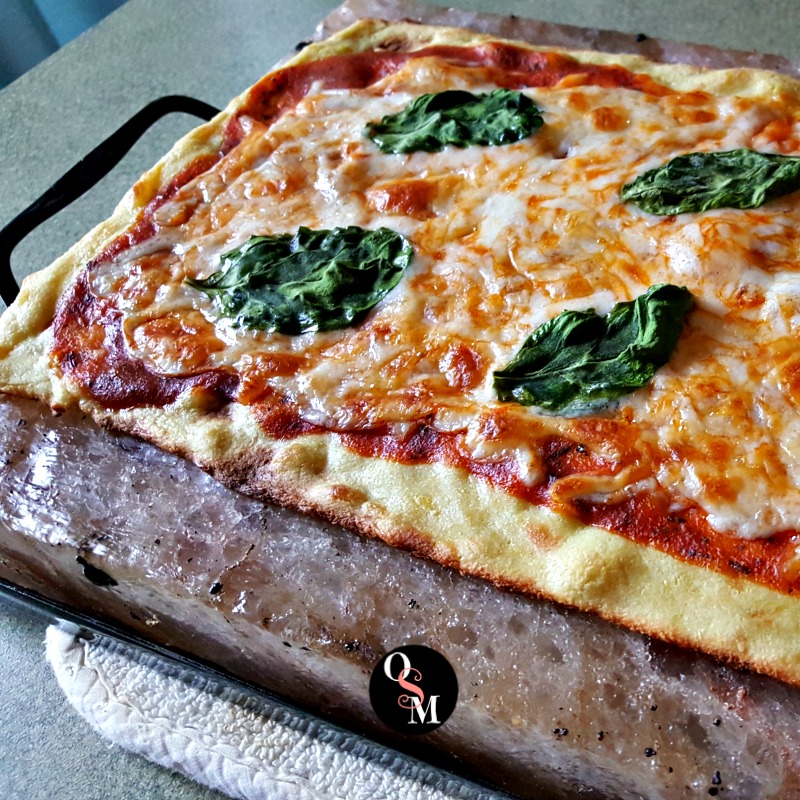
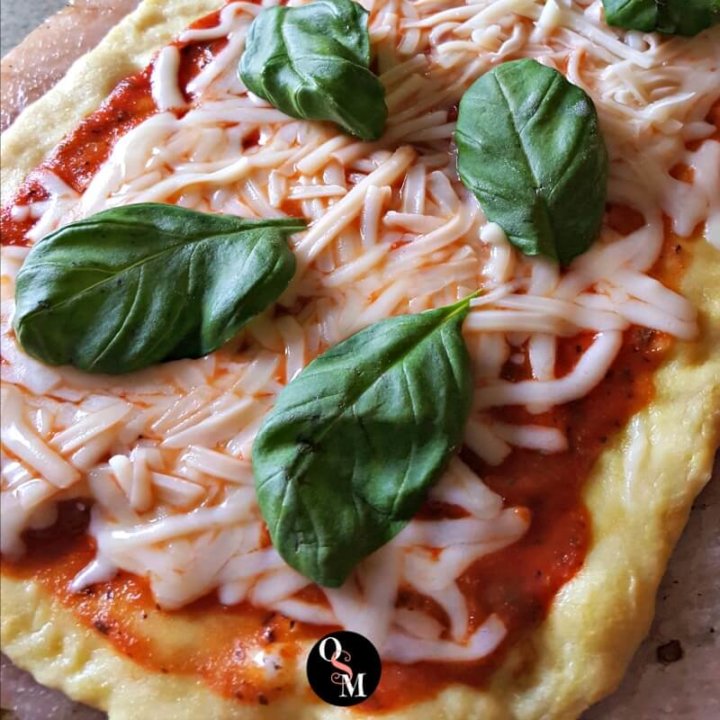
3 – Prepare your toppings and sauce. I’m including a super easy pizza sauce recipe but you can use any no sugar added sauce. This crust will be thin, so try not to overload it. I went with a Margherita style pizza with fresh basil.
4 – When your salt plate is heated thoroughly, pull it out of the oven. It was recommended to use an infrared thermometer, but I don’t have one so I just left it in there a bit after completing the heating intervals to make sure. Be sure to place the super-hot salt plate on a heat-safe surface or thick pot holders.
5 – Lay your crust on the salt plate, quickly spread the sauce and add toppings and cheese. It will begin to cook immediately and might look practically done before you put it back in the oven, as mine did:

6 – Pop it back in the oven for just a few minutes, until the cheese is melted and bubbly and as brown (or not) as you like. Keep a close eye on it!
The salt plate will retain its heat for quite some time, so keep in mind that the food will keep cooking on it when you pull it out of the oven. If you’re not going to serve it immediately pull it out a few minutes before it’s as done as you’d like.
7 – Nom nom nom. I can’t explain exactly how the salt plate made it so much more delicious, but it did. It adds a depth of flavor your plain old stoneware or metal baking sheets just can not. The salt flavor was noticeable, but not overpowering in the least. One video I watched suggested it was the trace minerals that add the depth of flavor. Whatever. I’ll take it.
Where can I get a Himalayan salt plate?
If you don’t have a bestie like the Homesteading Hippy, don’t worry (although I do hope you have a wonderful bestie in your life!). You can easily order one from Amazon by clicking HERE [this is the salt plate I used]. They are surprisingly affordable!
I’d like to get another one, to be honest. The size I have is 12″ x 8″ x 2″ and is perfect for making a personal size pizza but for the family, it’s kind of small. Although as quickly as that pizza cooked, I could easily cook personal sized pizzas for everyone in a short time.
If your salt plate should break, it’s still usable. Just use the pieces individually for single servings or fit them back into the frame while cooking. Eventually, it will become too small to cook on but even then it’s still usable. Just grind it up and use it like any other pretty pink salt.
Trim Healthy Mamas, this is so very on plan!
This is a decadently delicious S, of the heavier variety. I am not ashamed to say I ate the whole entire thing. BUT keep in mind that eating Heavy S foods too often can stall your weight loss. It’s made with a lot of cheese and also almond flour. While perfectly on plan, we still want to use moderation for those foods.
Maybe instead of eating the whole thing, Stick with half and pair with a big, dark, green leafy salad lightly dressed with fresh lemon juice.
So get yourself a salt plate. Make some Holy Grail Fathead Pizza. Be astonished. Because every now and then you just need some astonishment in your life to liven things up a bit. And, it’s seriously that good.
How to Make Holy Grail Fathead Pizza on a Himalayan Salt Plate
If you have a Himalayan salt plate, you'll want to make this fabulous low carb, gluten free, "Fathead" style pizza. The trace minerals in the salt plate really make this crust amazing! No salt plate? No problem, just cook it on parchment paper or a pizza stone. It's still good. But seriously, that salt plate does something magical to cheese dough pizza crust!
Ingredients
Easy Pizza Sauce
- Pinch or two of cayenne pepper
- Pinch or two of granulated stevia, optional
- 1 tsp olive oil
- 1 - 8oz can tomato sauce
- 1/2 tsp garlic powder
- 1/2 tsp onion powder
- 1 tsp Italian seasoning
- 1/2 tsp dried basil
Toppings
- Favorite pizza toppings (be sure meats are fully cooked)
- Cheese
Instructions
- Preheat oven to 425, heating the salt plate gradually (see notes)
- Prepare the cheese dough
- Shape dough on parchment paper or pizza stone
- Bake for approximately 12 minutes or until lightly golden brown
- Remove and top with sauce, toppings and cheese
- Return to oven and bake until cheese is melted, approximately 4 or 5 minutes
Notes
important!
It’s important to slowly bring the salt plate up to temperature so be sure to plan ahead. Follow the instructions that came with the salt plate. It takes from 30-60 minutes, increasing the heat in intervals, to correctly heat your salt plate.
Recommended Products
As an Amazon Associate and member of other affiliate programs, I earn from qualifying purchases.
Nutrition Information:
Amount Per Serving: Calories: 0Cholesterol: 0mgSodium: 0mgCarbohydrates: 0gFiber: 0gSugar: 0gProtein: 0g
If you love Holy Grail Pizza Crust, please SHARE and PIN and spread the love!
[…] How to Make Holy Grail Fathead Pizza on a Himalayan Salt Plate […]